Monday, February 29, 2016

Lemon Craft House of Roses Collection from The Rubber Buggy and Let's Get Sketchy sketch


Today at The Rubber Buggy I created this page using the LGS sketch below.  I thought I'd share our wedding photo but printed it in black n white. I used my products from The Rubber Buggy with the beautiful flowers and accents. It was perfect for a wedding page.


Supply List:
The Rubber Buggy Products
Markers: Copics
Circle Cutter: Kreaxions
Twine: Bella Creations Timeless twine
Other: stickles, pen


In the close ups you get a better view of the clusters, layers and details. This cluster has a stamp, circular label accents and butterflies.


This details the fun tag with circles and twine tied...  a stamped image with additional circular accent and to the left a floral cluster fussy cut and inked.


Under the photo is a fabulous copic coloured chipboard, and a great cluster with journal card, circle, button, stamp image and fussy cut floral.


Here is a view of the central section with all the amazing clusters and accents all to showcase the black and white layered photo.


Thanks for viewing today...  come back weekly to view more projects using The Rubber Buggy products.... all which are amazing.. be sure to check out the store.


Sunday, February 28, 2016

The Rubber Buggy Mini Album using Heartfelt Creations Classic Sunflower Collection


Today on The Rubber Buggy I am sharing a Mini Album created for my dear Friend Cathy using the Heartfelt Creations Classic Sunflower Collection. What an amazing collection. A great mix of colours, accents, tags and so many ways to use them.. alone or together. 

Supply List:
The Rubber Buggy Products
Paper: Heartfelt Creations - Classic Sunflower Collection
Chipboard: Blue Fern Studio Grid Pieces
Markers: Copics
Ink: Tim Holtz ranger
Blending Tools: Tim Holtz
Album Base: A Little Yellow Bicycle Album
Glue: 3 in 1 Beacon
Other: ribbons, stickles, metal charms, dew drops, doilies, 
burlap accents, flowers

Enjoy the video for some great tips to making your mini albums too.


Here are some extra photo shots for your viewing to see more details of pages in the album and also some that showcase the finishing touches to a page.


First you start with you base. Mine is a Little Yellow Bicycle started album.


Start by covering each page by tracing on the back side, cutting and gluing down.


All glued down especially on the outer edges.


I prefer to lay the pages out in doubles to flow left to right.


Here is each page ups close finished. Dig into the collection for accents and then some from your stash. This one has fussy cut flowers, chipboard, and glitter using stickles.


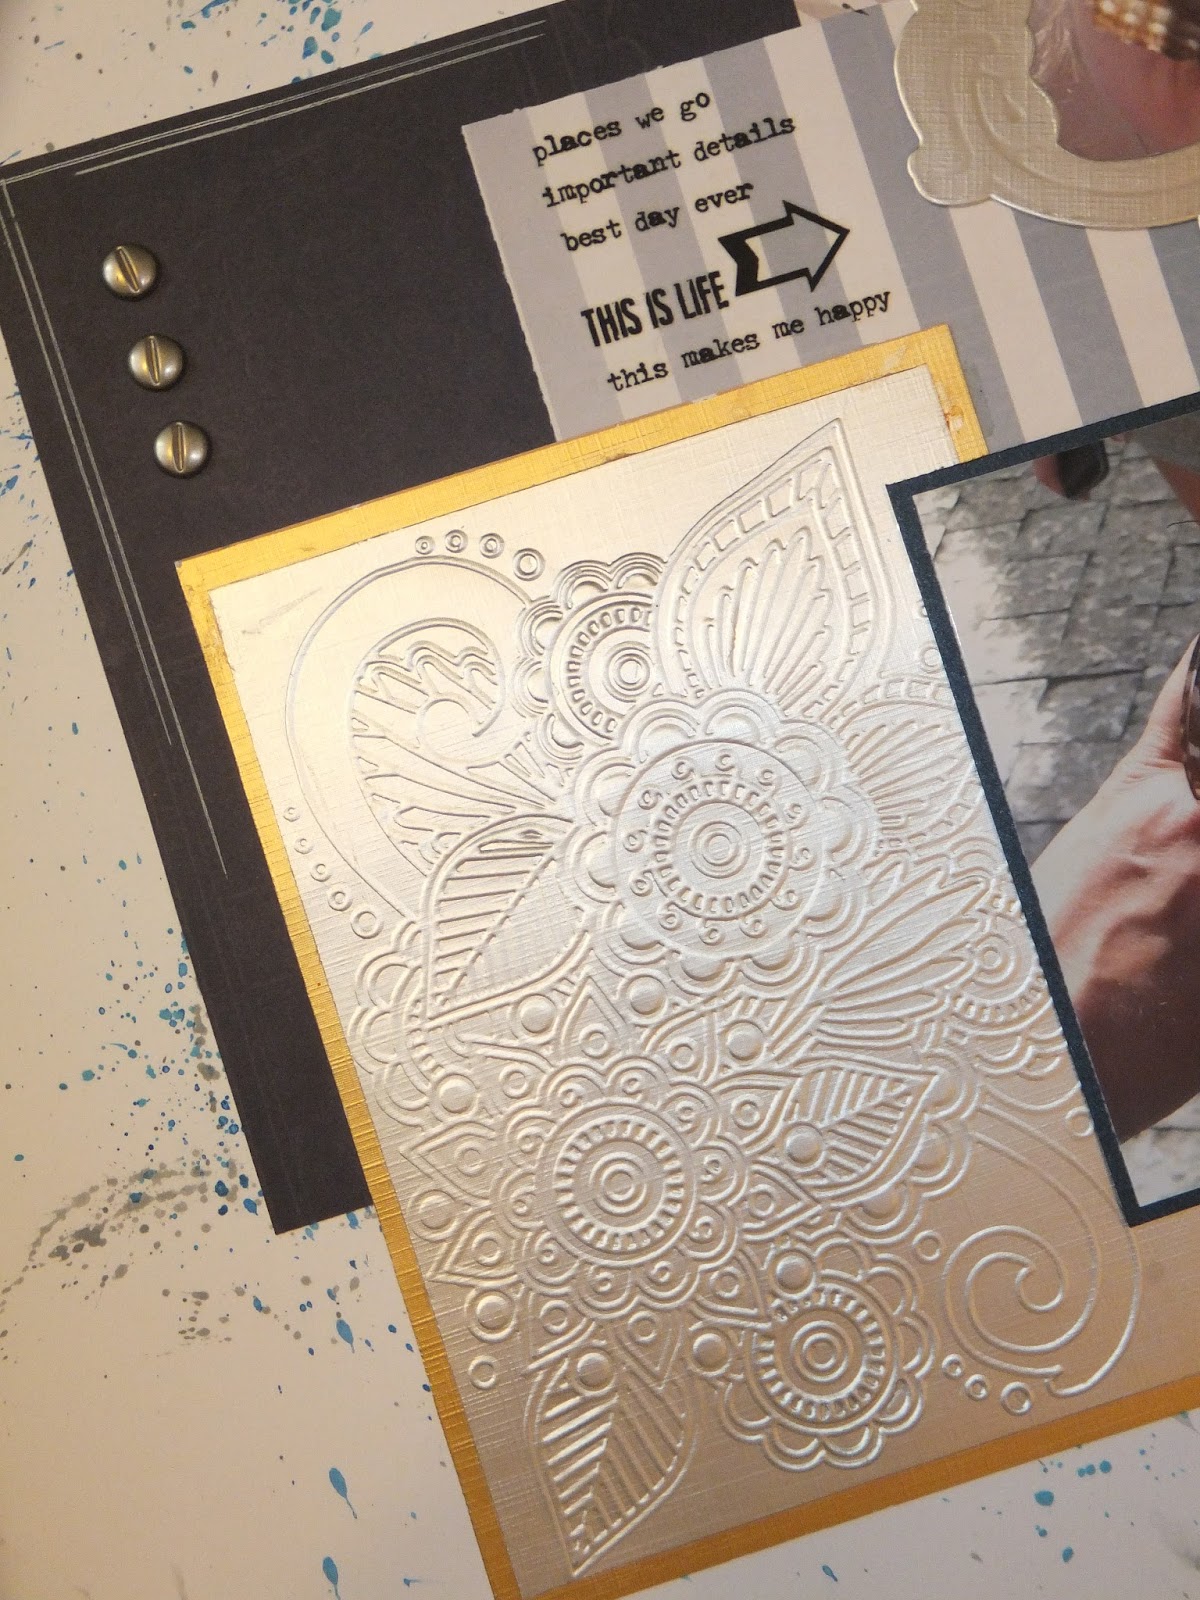
This page has a border, matted photo and dew drop accents.


This page has fussy cut butterfly flourishes popped up, a ticket and framed photo.


Lots of different papers mixed together across centre to create a base for the photo. An added bow and ribbon accent.


Circles dominate this page along with a doily which is circular also. I added a base border, a bow and some stickles for glitter.


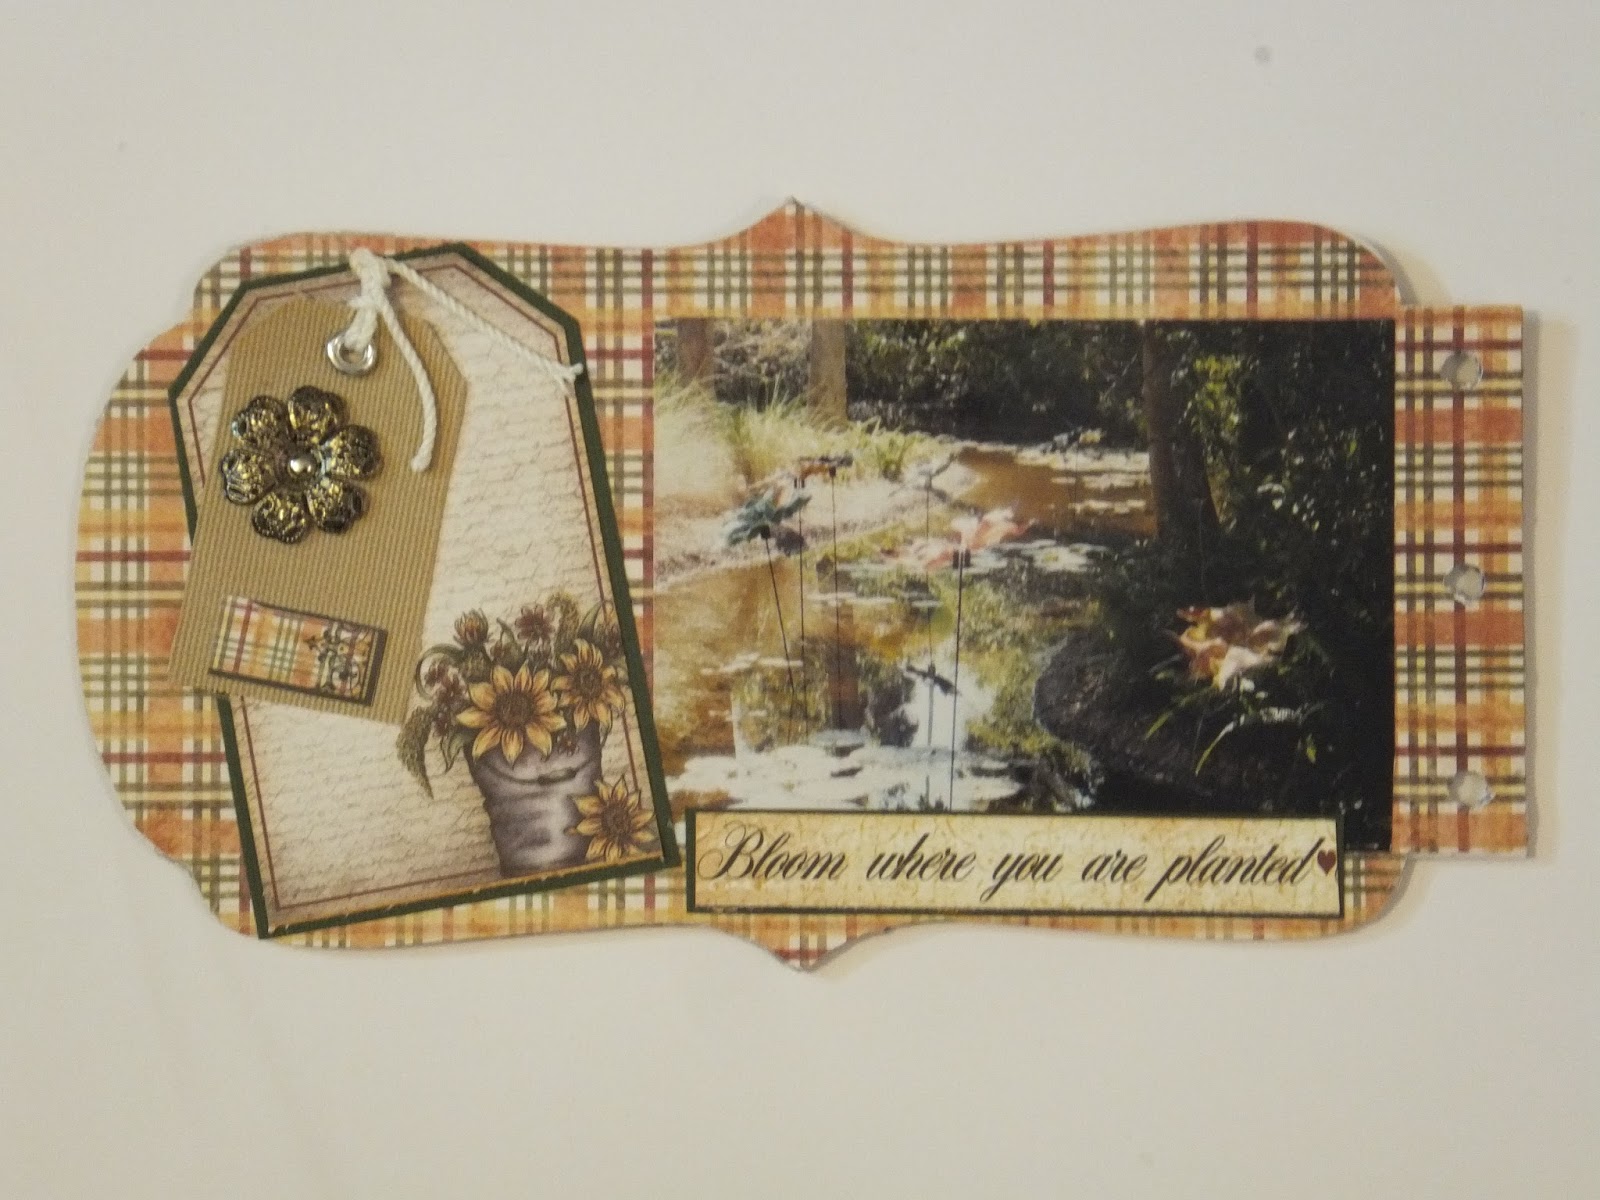
This page boasts a matted tag and more tag accents from my stash on top of it along with a title cut from the collection.


This side has a cardstock strip border, an upper and lower shield from papers, ticket accent with some small tags along with the fun burlap flowers.


The colour on this page was generated by using a frame paper and making it fit. The photo is double matted and a small floral cluster.


Starting with a strip of burlap and a boarder.. the circular frame for the photo and small floral accents I added some stickles and a ripped piece of accent paper.


The back cover has burlap accents below the matted floral journal card. A small floral cluster with some tags and a touch of stickles for glitter completed the album pages.


Add the rings, and tie off with multiple ribbons using matching colours.

Below are Instructions for you to print and follow when your ready to make you very own mini album.


*******************************************

Instructions: Start by picking your base backgrounds for your mini album. Pull together lots of papers that mix and match, some collection accents, borders, cards, tags etc. and then some added pieces from your stash. Choice some photos also... set all these things aside until you decide on the papers to cover each page of the album. You will have a front and back cover with double pages in between. Most times it’s best to choose double page match up colours so they have a flow from left to right. If you have specific photos to order lay them out to help pick papers to match your photos. Each album page 
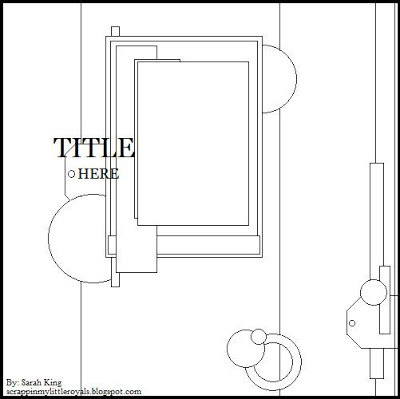
whether plain or shaped will be hand drawn on the back side of paper to hand cut the pattern (usually cutting off just inside the pencil mark). When gluing pages to the chipboard shape be sure to glue to edges put not so much that it oozes out. Spread some throughout the centre and be sure to get glue where the punched out circles are marked so they hold firmly when punched out. This is the most important part... so the edges don’t pull away over time. Once you have separately done each double page, glued firmly and they are done... it’s now time to layout the photos, layers of papers and accents for each page. When all the pages are done… do a review and if they need a touch more of something you can reassess the use of accents, stickles to add sparkle, add more of some of the standard accents like borders, mats, tags, bows, brads, gemstones, doilies, twine, flowers and anything that suits each album page. The last thing is to add the stickles and lay each side out to fully dry before doing the other side. You must be patient when using stickles. Some accents can be popped up but don’t overdo it because if it’s too thick it won’t lay flat enough to display on your tables for viewing. Add the metal rings to bind it together and for accent… tie multi coloured ribbons onto the top ring.

Thanks for stopping by today.. see you again soon.


Friday, February 26, 2016

Robin's Nest - it's never too late to create Christmas memories


So I know it's February and Christmas is over but it usually takes me until about now to order or print all those fun Christmas photos. It's always fun to create Christmas and Winter pages using winter theme colors and papers, adding the feel of cold by choosing accents with a chilly feel to them. Blue is a color that denotes winter and things that are cold or icy, and the sparkle of glitter makes pages feel like snow and frost. With these things in mind, I pulled blue papers, vellum printed with snowflakes, and a Christmas border punch, along with some great family photos. The girls all have on warm, snugly sweaters on - even if my son doesn't....LOL. 

Supplies:

Instructions

1. This fun page started with a 12x12" background base which I broke into 2 sectors. The lower base was a great patterned print and the upper a solid blue cardstock. Over the cardstock however I added a clear/white glitter snowflake pattern piece of vellum. 

2. To showcase the different sectors on this page I punched borders to separate and pop on the page. I chose to use one on the top, one through the centre where there was a paper change.. and only a partial piece that fit perfect when the photos were placed on the page. 


3. The photo above shows the punched borders, the fun vellum sparkles paper and the fun snow, frigid, Winter title section. Also aren't the cute diamond dew drop snowflakes perfect? 


4. This section showcases the fabulous fun doily which has a rubon santa and is backed with the sparkle loops of straw. 

5. After placing the photos, custom-fit the last punched border (trim as needed) and add the matted 'Family Christmas', centered below the photo at the right. 

6. Just remember when adding finishing touches to Christmas pages.. that anything with sparkle is a perfect fit. 

Thanks for stopping by. I enjoyed sharing with you. If you like my style and want to see more please visit my blog where I share lots of different pages with family and friends. 


Thursday, February 25, 2016

Cut Card Stock - Foil for glitter n' shine


Hi.. so how are you today? I am super excited to share a page using FOIL with lots of sparkle and shine. What a great touch to any project.


I started the background with paint splatter. I then started my accents using American Crafts Foil paper pad. The quality of the paper is perfect. It was easy to emboss, spellbinder cut a frame and was a charm cutting with my cricut.


Here is the close up of the embossed and matted section using foil .. and foil matting too.


In this section you can view all 3 .. embossed foil, cricut cut title with heartsand the spellbinders photo frame.


Now in this section we will draw attention to the Pink Paisley 6x6" Atlas patterned papers which are a great background to my page... lots of colour and depth is added when layering along with texturing too. To this I added a fun clustered upper corner, some sew easy ink roller zigzag stitching, some signo white gel pen doodled lines and some brad accents

Supply List:


So glad you could join me today.. thanks for visiting and come again soon.


Photobucket

Robin's Nest Sneak Peak


So I know it's February and Christmas is over but it usually takes me until about now to order or print all those fun Christmas photos. I enjoy viewing and creating these memories after all the hustle and bustle is over. Robin's Nest has amazing paper line to create these pages with.

Be sure to visit the Robin's Nest blog for my full reveal.
Thanks for stopping by. I enjoyed sharing with you. 


Monday, February 22, 2016

The Rubber Buggy - An Autumn Story


Today at The Rubber Buggy this fun page is created using 6x6 paper pad and chipboard... and mixing them together for a great layout .. and copic colouring makes matching colours perfect. This is my youngest Grand Daughter and  a collage of fall photos. The colour combo was perfect together.. I added the fun matted tag with bead accents One photo is mated circular and the other fits the chipboard frame.. it's awesome.

Supply List:
Paper: Maja Design Enjoying Outdoors
Chipboard: Blue Fern Studios An Autumn Story, Mod Squares
Markers: copics
Other: paint, Stencil, beads, CS


The close ups allow you see the details better ... What fun layers with paint splatter and stenciling... and look at the great copic coloured chipboard that fit the photo.


More details showing the fabulous background.. and OMG the title is perfect. The accent pieces were a perfect match for this page... and a touch of bead bling is awesome.

I am also submitting this to Maja Design Mood board for February..I  love the pinky /purple options  and that's what I used.


Thanks for joining us today.. be sure to come back again.