Monday, November 28, 2016

Celebrating Christmas at The Rubber Buggy


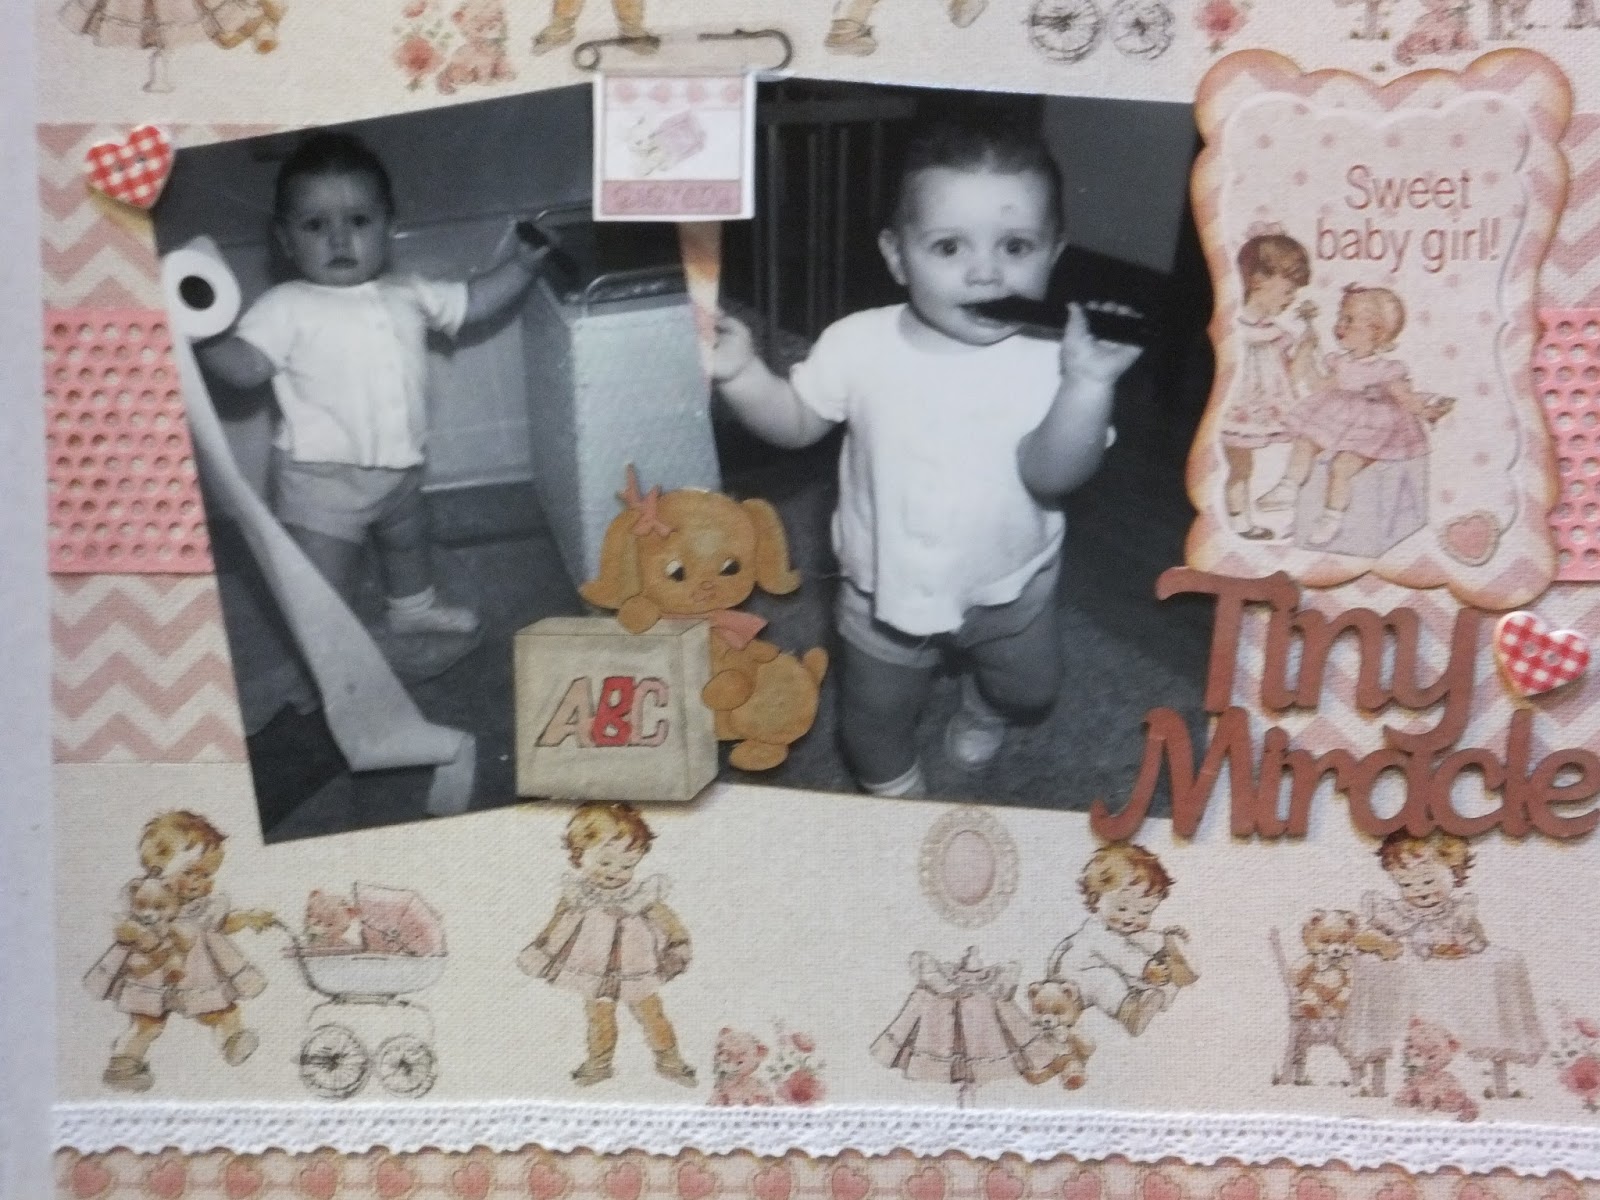
Today at The Rubber Buggy I am sharing a page using scraps for the background from Photoplay Holiday Cheer collection. I have been creating for days using this amazing fun, bright and festive line with lots of accents and chipboards that all coordinate perfectly.

Supply List:
The Rubber Buggy Products
Other: black pen


When creating using scraps from a collection you just have to be a bit creative with the pieces to form the background. 


In this photo I show the proposed layout and take a photo. I then remove things and start gluing down.


Notice the gray print to this side to fill the empty space. .. also note the great title and tree sticker.


Lots of collections today have the great tags/ journaling tags where you can add your personal touch to the page. Since I scrap for the family I often leave space for the parents to add some text too.


There was a fabulous amount of great stickers and chipboards to accent many projects.


Thanks for stopping by today... be sure to visit the store to view this collection and the many other Photoplay collections.


Saturday, November 26, 2016

C89 Sweet Baby Collection layout for Fab Scraps

C89 Sweet Baby Collection Layout by Bev Code


I used C89 Sweet Baby Collection from Fab Scraps to create this super cute but easy card. The collection has a great mix of blues or pinks for both boy and girl projects. Be sure to visit the Blog where you can view lots of amazing projects using Fab Scraps Collections.

FOR THIS CARD YOU WILL NEED:
Supply List:
Collection: C89 Sweet Baby paper, chipboard and accents
Other: copic markers, lace, beads, buttons, punchinella, Tim Holtz ink

INSTRUCTIONS:
STEP #1:  For my background I used 2 part pieces of a full page and put them together on a 12x12 white cardstock.. I love the upper girlie print with the chevron bottom. I also added the strip borders of hearts too on top and bottom.

STEP #2: The upper edge got beads and the lower edge got lace... both suited to little girls.

STEP #3: Through the centre (or on either side of middle) I added pink punchinella accent.


STEP #4: In the close ups you can see the details of the other accents and placement. This section has a fun cluster of pieces. The cute sweet baby girl with a matted fussy cut background mat and inked for depth. The chipboard is copic coloured and I added the small heart button.


STEP #5: In this section you can see the other chipboard accent which also is copic coloured. Above shows the super fun sticker which was put on white cardstock to make it pop and hand cut. See the fun punchinella out to left side of photo.. and the cute heart button accent.


This photo is through the main central section showing all the accent pieces and placement. Remember when crafting.. following or scraplifting is fine and fun.. but don't forget .. make it your own and have fun.


Thanks for joining me today. 

Friday, November 25, 2016

White on White cards at ScraPerfect


Hi.. how are you today. I am creating  white on white cards today for ScraPerfect and I am using some of their amazing products while making these cards.
Supply List:


 Here are my 2 cards and I'll start by sharing some of my tips to using white on white.


First you will need papers that are different shades of white along with any other white base products like vellum and any other white accents that you have. Also using embossing folders and dies allows for better depth and texturing also. For sparkle I pulled stickles but I just learned that if you own glitter and use Best Glue Ever you could apply the sparkle this way.

On the 2 cards above I used vellum, white papers, white diamond dew drops  and white dew drops (from a cross promo company Robin's Nest).
 And then add some embossed layers and some die cuts. AND this is the first time I am not inking the edges... wanted a clean pure all white card. They were accented with glittery stickles for sparkle.


When working with dew drops the Embellie Gellie is perfect. A small amount of it on the end of the stick allows you to pick up these small accents, add glue to them and then place them on the project.


Holding  the dew drops on the end of the Embellie Gellie stick allows you at a small amounts to the dew drops and then place them on the exact spot on the card. The fine non clog writer tip makes this process so easy.

Last but not least... when you have sticky gluey fingers the Best Cleaner Ever is perfect for this job and so many other cleaning jobs.

Thanks for stopping by today... hope to see you again soon.


C89 Sweet Baby Collection making a Banner for Fab Scraps

C89 Sweet Baby Banner by Bev Code


Supply List:
Paper: C89 Sweet Baby Collection
Chipboards: C89 Sweet Baby Collection
Markers: copics
Other: cardstock, Punch, brads, ribbon

Instructions:
Step #1: Colour all the chipboards

Step #2: Make a template for the pennants... all to be made big enough to hold the largest chipboard accent.

Step #3: Cut pattern paper first from the collection, Matt with colour cardstock, then white cardstock and then punch a larger template to have some fun punched edges.

Step #4: After all the lettered chipboards are done... now make some extras to place between each letter of white cardstock and accented with what ever accent you'd like to use or make pinwheel flowers like I did from the pattern papers in the collection.

Step #5: add the chipboard letters and pinwheels using brads to hold them secure.

Step #6: Join complete pennants together using brad on each side.... alternation letter/ pinwheel etc

Step #7: Secure the ribbons to the outer pennant on either side for hanging up.


Thanks for visiting today... Hope you have a great day.


Best ever collection for those Fishing pages


Hi everyone... so how many of you have a fisherman in your family. Well these 2 best of friends love fishing. They even take a weeks vacation to so far North to fish the services are lacking!!!! OMG It is a guy thing for them because us girls don't go with them... that's for sure? LOL
So on these masculine pages I always grab for these papers to create with ... they are perfect for fishing photos.

Supply List:
The Robin's Nest Products
Rubons: Fishing
Other: title die cut, twine, cork and burlap


I always grab papers... cut some... and place some things into proposed positions and move them around until I get what I am looking for. For this one I didn't even have the photo pulled yet ... so that was the next step.... and I had to make adjustments as the photo was horizontal.instead of vertical. LOL


So with that changed I now have this proposed layout and pulled some cork and burlap for possible accents.


Behind the title you see a great net looking chipboard.


I worked on the above 2 sections next. I matted things to make them pop and the cork and burlap added depth and texture to my page.


I don't often play with loose twine .. but thought it was perfect for this page. The twine is like the fishing pole line scrawled across the page.


I using fine line glue to make the twine stick and then added the photo over top of it and the burlap strip. The diagonal strips that I moved off when I turned everything where now brought back into the layout on the outer edges. 


I had a great cork tag and experimented by using a rubon accent. It worked perfectly.... just had to work slightly slower and more delicately when doing this.


With these amazing products the page came together perfectly. Cool and masculine and a great sport fishing layout. 


Now in these photos you can see some of the details up close. I add another fishing rubon. .. and you can see the addition of larger dew drops.


Thanks for stopping by... be sure to visit our blog often when all DT share amazing projects using Robin's Nest products.


Thursday, November 24, 2016

C89 Sweet Baby Collection Little Giggles layout for Fab Scraps

C89 Sweet Baby Collection Layout by Bev Code

Hi .. OMG isn't this new line for babies amazing.... blue and pinks for all those boys and girls,,, son's and daughters and grand kids too. This is my eldest son when he was little.. and now he is 45 years old.... what great memories these pages will hold.

FOR THIS LAYOUT YOU WILL NEED:
Supply List:
Paper Chipboards, Stencil: C89 Sweet Baby Collection
Ink: Tim Holtz mini pads, ranger
Markers: copics
Punch: Martha Stewart heart
Other: buttons, metal accent, twine, cork, paint


INSTRUCTIONS:
STEP #1: I pulled the collection out and decided for this one that I would use a cardstock base to start and use pieces of 3 papers to create the background as seen below. It allowed me to mix prints, blocks and images all together.


STEP #2: Pulling the photos I wanted to use, some chipboards, ink and copics I coloured the frame, teddy, title and matted the one photo. 


STEP #3: I splattered some blue paint on the page, stenciled in the letters BABY and added the hearts.


STEP #4: Next I positioned the matted photo.


STEP #5: Next I added the rest of the accent chipboards that I prepared earlier. I then added some button accents.


STEP #6: Next you can accent the page any way you like .. add a little or alot... but have fun.

In the close ups you can view the details better. ... enjoy.


Thanks for joining me today.