

Welcome to Creative Embellishments blog post today. I am sharing a few projects from other teams that used lots of chipboards from Creative Embellishments. There are so many amazing chipboards, stamps, stencils and flair buttons available in the store and there are more new ones being added weekly. You won't want to miss out on these.
This page is my family photo and a single family photo with my eldest son's family. These pages save memories for over the years and time passes. Love them all.
Supply List:
Creative Embellishments Products
Chipboards: Celebrate Word Set, Rose Leaves,
Stamp: Distressed Crackle
Buttons: March Flair
Paper: The Rubber Buggy Blue Fern Studios Amber &;Apricot
Other: string, ink, ribbon Flowers,

Lots of amazing word sets to complete your pages along with amazing leaf accents for fall photos.

I love to ink, copic colour or paint chipboards.

These 2 photos show the super amazing flair buttons.... and some many to choose from.


In the background is some stamping using


*****************************************

Up next is a photo of my favourite Grand Kids ever. ... when they were young and spent lots of time together. They still get along amazingly even though their visits are less often. this is again another DT project that I made using lots of Creative Embellishment chipboard accents.
Supply List:
Creative Embellishment Products
Chipboard: Diamonds, Rose Flourish,
Stamp:Trio Shape Stamp
Buttons: Flair Feb 14th,
Other: Paper Wishes Ruby Rose, Paper Wishes Dazzles, Ink, Copics, Ribbon, Signo White Gel Pen, Cardstock, Nuvo Crystal Drops
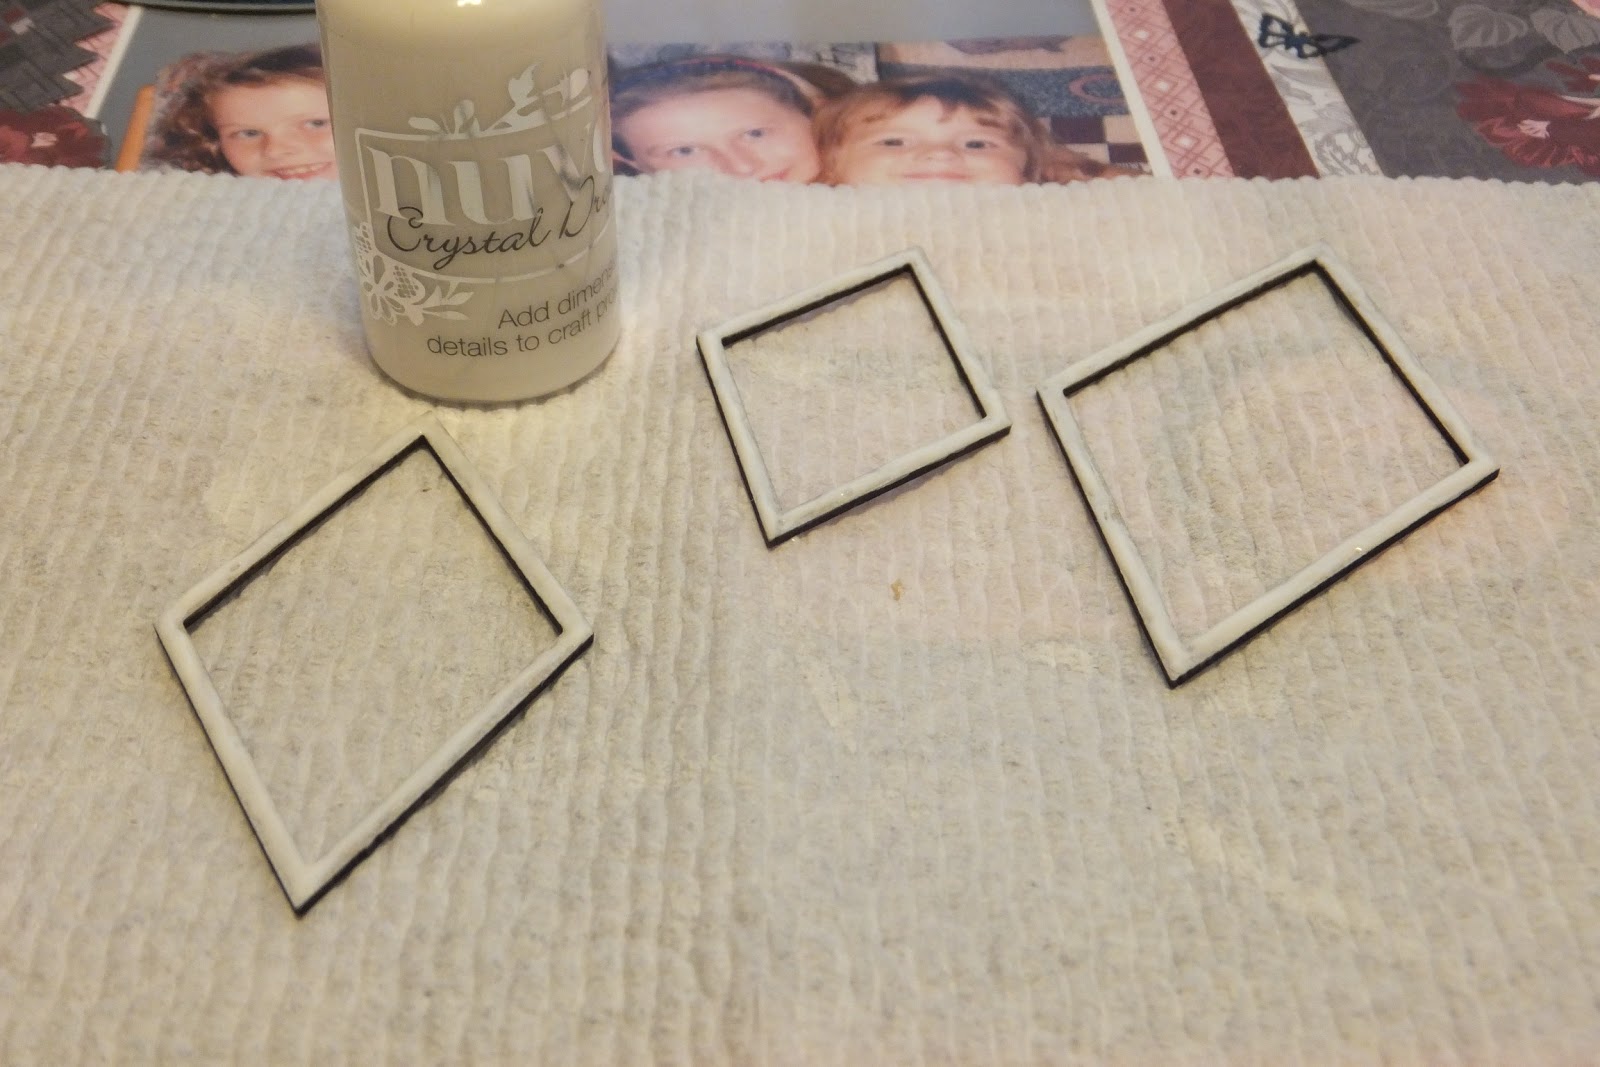
Chipboards covered 1st in white ink... then topped with Nuvo Crystal Drops.

Many different copic colours used to do these rose flourishes. Started with some brown on stems and green on leaves.

Red on roses and then all finished off with some white signo gel pen accents.

Close ups with the chipboards finished and on the page. Love the small clusters of accents on this page. They make fun additions to any project.

More view with the floral flourishes.


*******************************

This super page is my youngest Grand Daughter who loves to craft with me. She also likes fun colourful clothing and when she grows her nails she love a manicure. She puts a smile on my face.
Supply List
Creative Embellishment Products
Chipboards: Happy word set, Hexagon Panel,
Button: March Flair
The Rubber Buggy
Paper: Stamperia Roses and Lace Collection
Ink: Tim Holtz distress and distress Oxide bundle
Glue: Beacon 3-in-1
Other: cardstock, gel dots, ribbon, lace

After mix and matching the background and adding some ink smudging I added the main chipboard panel. The chipboards on this page are left naked but look perfect.

Photos were added ... one with matting and some popups to level out even with the chippie.

The word "smile" is a perfect title to this page.

I finished this page off with a flair button... spring has sprung.


I enjoyed sharing all these with you.
Thanks for stopping by. Hope to see you soon. Please take time to visit the STORE to view these and so many other amazing products from Creative Embellishments.


