Wednesday, October 5, 2011

T U V W X Y Z... what an amazing CROP at MSW

Well I am finished the ABC CROP at MSW. It was amazing fun. And we broke records I think with the number of gallery entries for this challenge.... congrats everyone.. inspiring and creative work.
T ... Techniques Card. Use 2 techniques on a card. On this card I ripped for distressing and inked. I embossed and used sand paper on the raised section . .. really distressing the paper. I also added the embossed butterfly, sticker butterflies, stickles and sentiment.U... Undies Layout. Use lace on your page. (bonus points if you cut lace off your undies) I used the sketch from another site that will be posted in October.... photo to follow soon.

V... Vellum Card. Use vellum on a card.
W... Wish Layout. Use the word Wish in your title. On this layout i really went wild. Inked the background, lots of rub on accents, copic doodled the lines and sticker titles and journal tags.
X... x3 Cards. Make 3 mini cards... and bonus for the bag.
Y... Young Layout.. picture of kids under age 5. I have lots of these so this was easy and fun. Went with some fun, light papers, pop ups, stamped flowers, brads, borders punched, brads and some stitching. Adorable fun photos playing dressup.Z... Zebra Card.. use black n white plus extra colour.

Photobucket

Tuesday, October 4, 2011

Embossing Pops with added Colour


Welcome to a month of celebrating Rock n Roll, music, performers etc. at Cookin' Up Creations.
I thought it would be fun to share with you.. Mama Mia..It was a made into a movie and had live stage performances... and music by Abba.
It had such fun upbeat music, dancing and great scenery.. and the photos are full of inspiration too.

On this layout I used the embossing folders that had floral design.. kind of similar to print papers. I then used copics to colour on the raised portion of the embossed piece. It made a beautiful Accent portion to the layout with texture and colour.

On the card I used the same embossing folder for the majority portion of the card. To make it pop more I used a silver gray ink on the raised section of the embossed piece. On the left panel I embossed a floral with stem and used white ink to pop it.

So my challenge is to get out those embossing folders.. add some ink, copics or any type of colour to pop its detailing and use it on any project.
Added twist.. take some inspiration from the Mama Mia photos whether it be colouring, style, scenery.. you surprise me......

This card was also used at My Sketch World to finish some of my cards for the fabulous month of September doing the ABC CROP. It is used for V.. Vellum.. I cut the vellum butterfly and then embossed the dot pattern or more texture. The crop is almost over but it was an amazing, busy month of layouts and cards.
Photobucket

Friday, September 30, 2011

Tutorial Designer at My Sketch World

If you loved what I had to share here for the month of September from the Tutorial section of My Sketch World .. be sure to join and play along with us every month. I have something new every month to share with you. Also I love seeing what the tutorials inspired you to create.
Photobucket

Heat Embossing Video

At My Sketch World as I previous shared I am now the Tutorial Designer and at the end of each month I will share here what I did at My Sketch World.
Here is the Heat Embossing Video using the Easel Card ..


but also note I used a sketch from My Sketch World..a Lucy Chesna Design. This is a September 2011 Card sketch.
My finished card using both techniques and Lucy's Card Sketch for September 2011.

There are so many ways to use both sketches and different techniques at the same time.
I had so much fun with this sketch, technique and easel card.. here is my other sample.

Sure hope you enjoyed this today.
Would love to see your projects using heat embossing, easel card and the sketch this month.
Join us at My Sketch World and share and inspire us.

Photobucket

Heat Embossing Tutorial

HI .. So I am now the My Sketch World Tutorial Designer and for the month of September I shared Heat Embossing Tutorial and I thought it would be great to share it here also.
I am so excited to share what I know about Heat Embossing today. These principals are then applied to Lucy Chesna Designs - September Layout Sketch.

Supplies:
    stencils and or stamps versa mark in pad or pen form embossing powder embossing heating gun stamping ink
On this one I used a stencil and versa mark pen to apply the translucent watermark image.

Here is my butterfly which I outlined first with black pen(optional.. because it didn't show later)
Used the versa mark pen to cover the image.

Apply lots of embossing powder to cover the whole image. ( we save the left overs)

Shake and or tap off the excess powder off onto a piece of paper. (or use the official catching tray with resin pad to help prevent static cling).

Here is the Heat embossing tool.

When the embossing powder is heated enough it changes to a darker colour, pops slightly and has a shiny finish.

On this image I cut it out and matted it so I could pop it up as an accent.

Extra embossing powder gets funneled off the paper back into the jar.

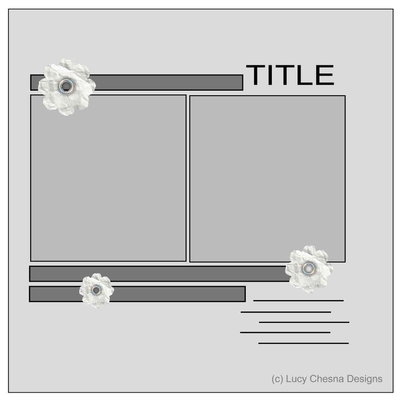
Here is Lucy's amazing layout sketch this month which I used on all the samples.


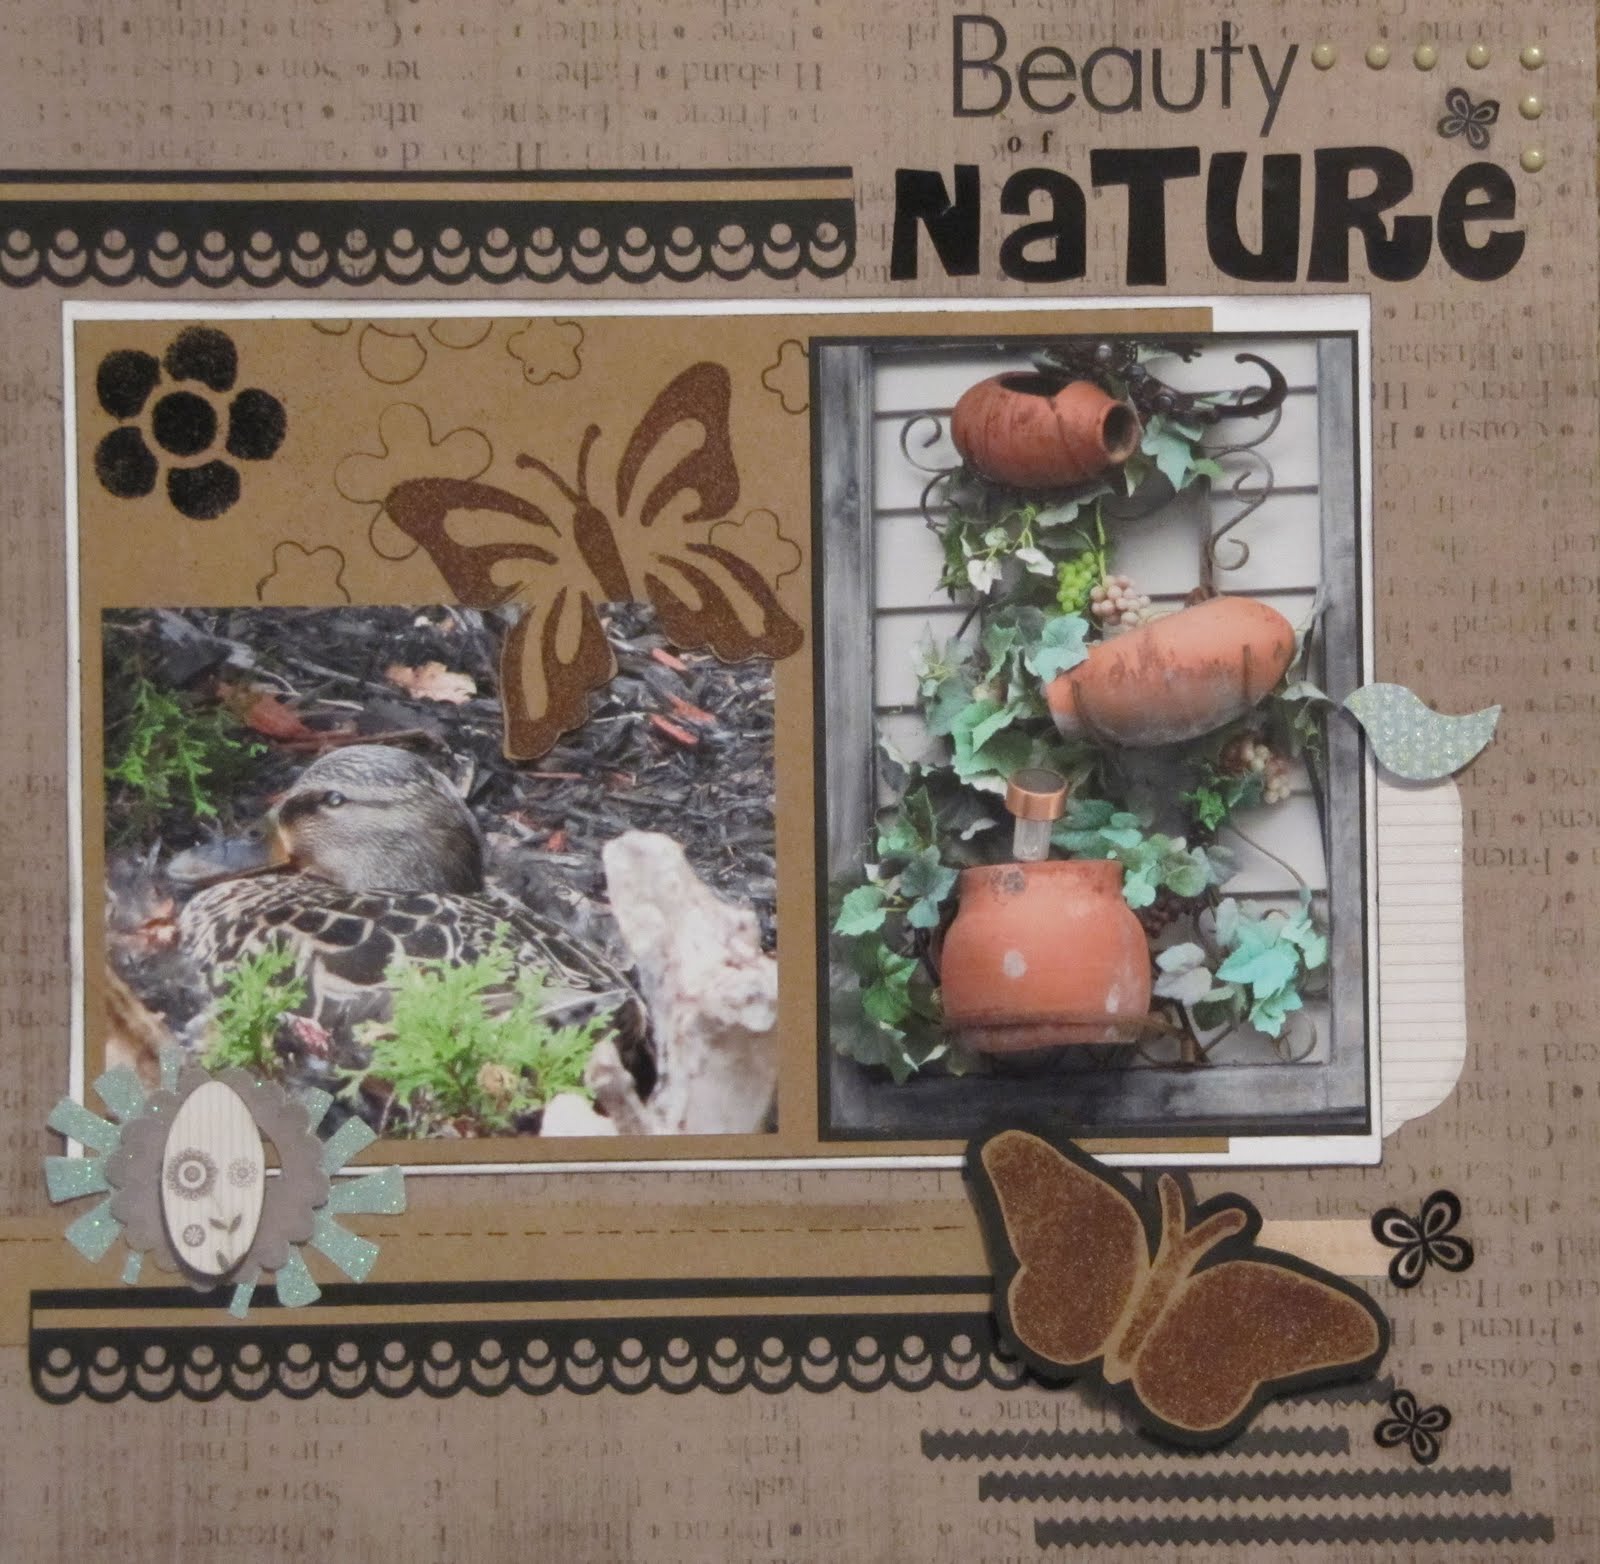
Beauty of Nature and Birds both have a direct application and a cut, matted and popped up image accent.

This is a little something different that I tried.

Supplies:
Stamp
ink pad
embossing powder
versa mark
heat gun


Using a big scenery background stamp I inked it with Memento.

Stamped it onto paper.


Now I versa marked only specific parts of the same stamp and laid it on directly on top of the ink stamped image. Apply embossing powder and heat it.

This is the finished scenery on the layout "Our Family" using the same amazing sketch from Lucy.
I am sure you now have lots of ideas to share.. would love to see them. Join us in the forum at My Sketch World to play along.

Photobucket

Kreaxions Circle Cutter on What's New Wednesday 9/14

Hi... so glad you could join me . This month at Cookin' Up Creations I shared What's New Wednesday during our month of celebrating famous women in our world. So I'd like to also share here today ..... it's a great tool and a great tutorial on how to use it.

In Celebration of famous ladies I choose A Canadian Astronaut.. Roberta Lynn BondarAstronauts and round planets.. this is my connections now to CIRCLES.

We scrappers all have circle cutters, plates and many other things we have tried. I know I had before I found out about Kreaxions Circle Cutter.

Doesn't look like too much? It's small, light, plastic.. BUT... it cuts up to a 10" circle and it cuts on any mat even if only a small piece about 4x6". It's amazing and so easy to carry around even to crops where those plates etc where so cumbersome.
This is a tool every scrappers should have.

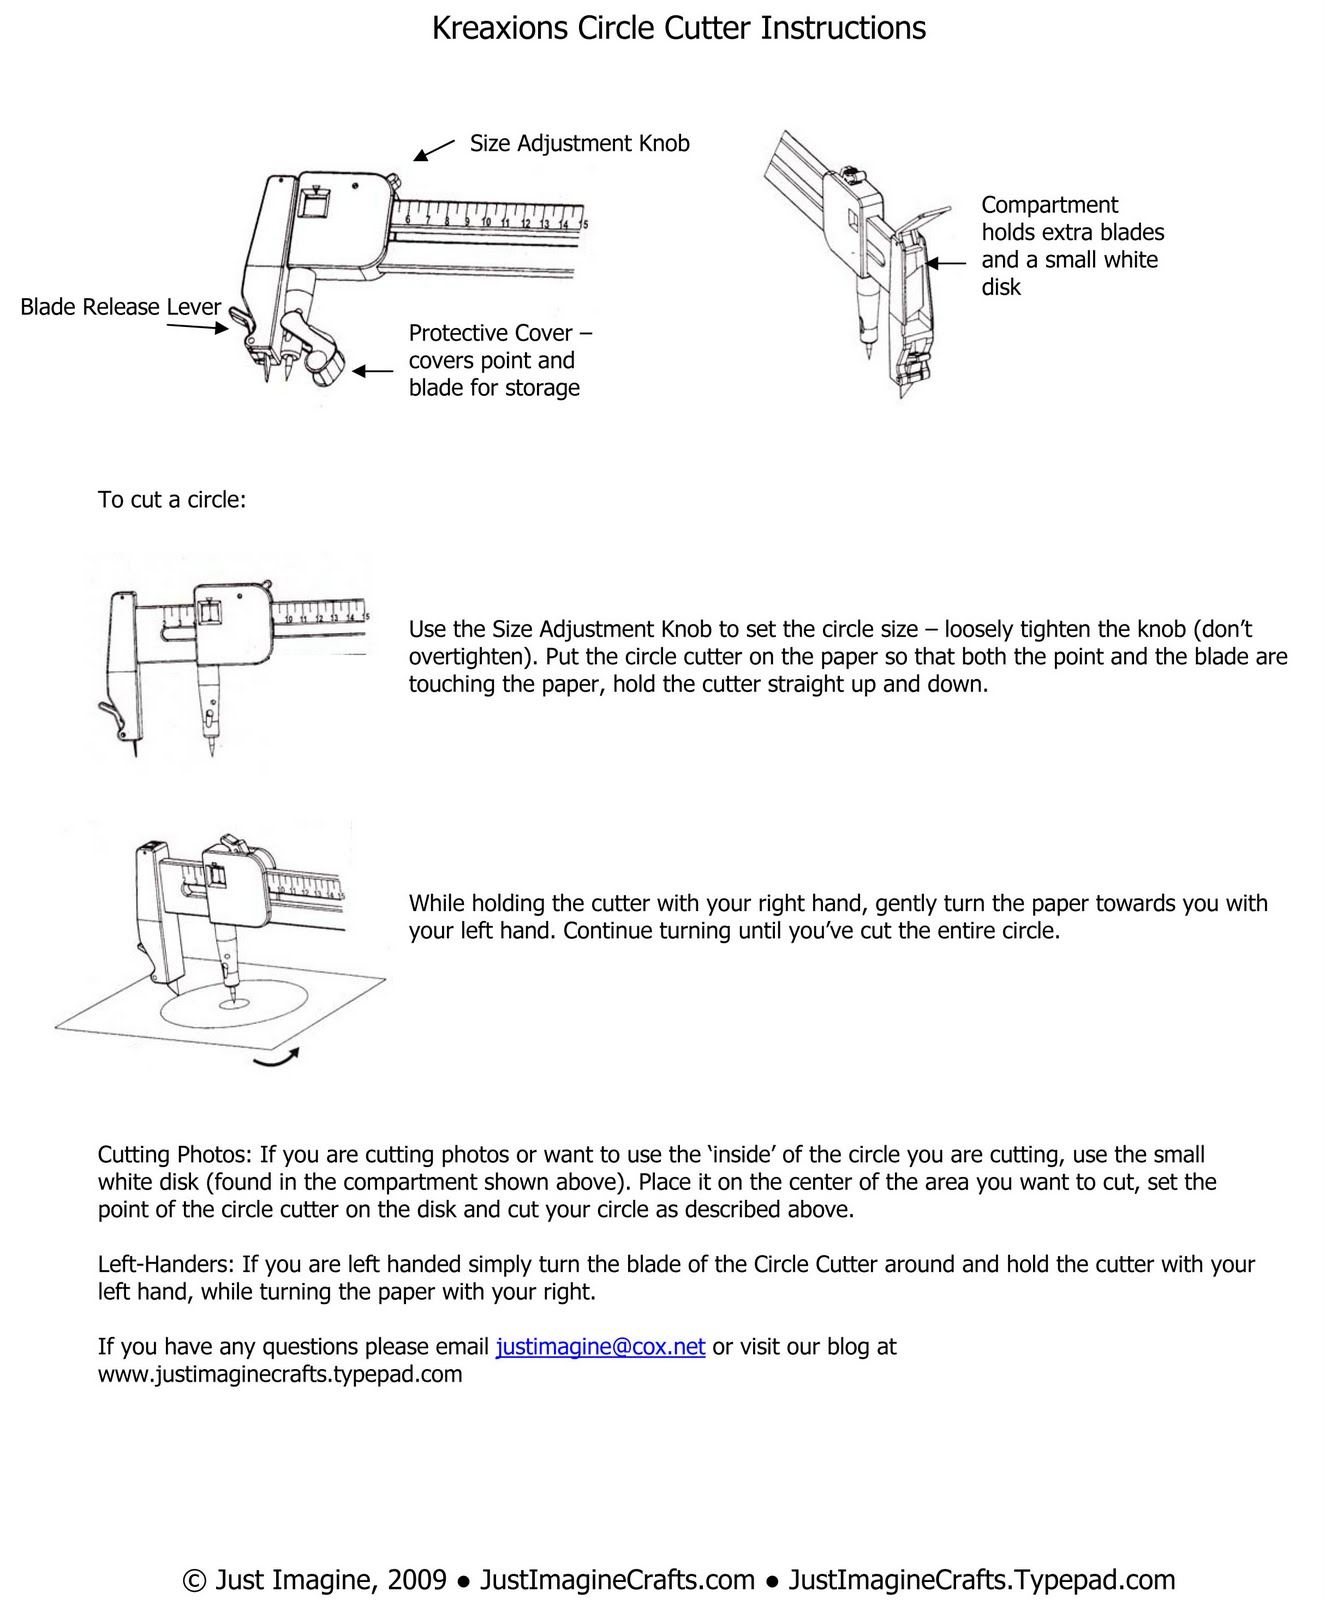
Here is the basic instruction sheet.

Here is my basic layout using the Kreaxions Circle Cutter for smaller sizes.
Here is my basic layout using the huge circle size....which I then punched from the inside.This large one I punched the inside also .. BUT also cut the circle photos.NOW how about this... using the same fabulous tool ... I cut my own scallop.
Here is the quick easy method.
Here is my layouts using the scallop method.So as you can see it's a very versitile small, compact, amazing and fabulous tool called the
Kreaxions Circle Cutter and you can find more info at the Just Imagine Crafts site and purchase it there also if you love what you see here.
I use it ALL the time... as you can see.

Photobucket

Thursday, September 29, 2011

Cookin' Up Creations... with a sketch


Sketchy Saturday at Cookin' Up Creations 9/24 inspired the fun amazing layout above... I loved the strips and accented them with stitching, added some brads, some epoxy accents and sticker title.
Photobucket

Cookin' Up Creations, Scrapbook Challenges, My Sketch World

I also used Scrapbook Challenges of 9/2.. to use alpha and number stickers from your stash of left overs and mix them up.. and use them on your background... it worked out fabulously on my black n white page... and MSW had S for Sweet.. so multi tasking in use again. The fun borders, vellum heart, flourish and fun star brads were perfect.
Cookin' Up Creations has a Scraplift Sept in the Hors d'ouevres tray section under Pick a Product. The DT used supplied product and we were then invited to lift from there layouts. This layout I lifted from is Barb's creation... amazing fun lifting from it.

Photobucket