Monday, July 4, 2016

New DT term with Robin's Nest..super excited to be returning


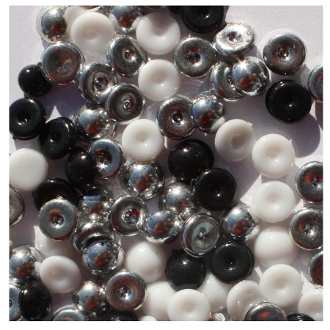
I am super excited to be returning another DT term with the Robin's Nest. They never stop production of great new and fabulous products for me to share with you. Today I am creating with one of my favourite collections Saffron Sunrise. I am sharing how to make a shaker card using dew drops as the shakers.

Supply List:
Robin's Nest Products: 
Dew Drops: Originals
Ribbon: Grey 
Other: Kreaxions punch, sentiment, cardstock

Instructions:


STEP #1:  Starting with a cardstock card base pull the papers you plan to use. Also find a clear plastic piece (i use clear plastic from my crafty purchases ) to make my shakers. My piece is a circle so I decided to mix up some shapes on my project. The square background base is slightly smaller than my card base. The circle is slightly bigger than the plastic so I could punch a border edge around it.


STEP #2:  Everything in the paper so far was very light .... so I chose a dark grey accent cardstock to make thing pop. I made a matt for behind the border punched accent piece so the flower showed up grey and popped.... but the centre was far too dark for the dew drop shaker section.
We are assembling all these layers without gluing anything until it is set with no additions. 

STEP 3: I then cut the centre of circle out to fit the outer edge of the circular plastic piece.

STEP #4: To lighten the centre section of the shaker I picked a section of pattern paper that had a logo on it.. something to add more to the design in centre section. I cut it slightly bigger than the  plastic circular section.


STEP #5: Next I started gluing the plastic piece to the punched circular ring. Never use too much glue around the plastic section that the shakers would be touching? OR make sure glue process is firm and dry before starting the next process.


The side view allows you to see the height of the plastic for shaking space of dew drops.


STEP #6: Pick the shakers you intend to use... they can be dew drops, beads etc. Pick colours to compliment your shaker paper... matching or total opposites is great too.... they are all fun. Place them in the centre as to keep the next gluing process away from them.


STEP #7: Add glue to the underside of the shaker top that you have put together being sure to keep the glue to the outer edges only.....  but enough glue to hold firmly and keep the shakers inside.
Place it in the centre so the matted edge in dark grey is equal all around.


STEP #8: After putting the main piece together and placing it on top of the print background.... it still needed something. Pulling a grey print and matting it made for another perfect layer of colour to give depth and dimension to the card.

STEP #9: Now it is time to accent any way you like to fit any occasion you like. I found some ribbon to add to the matted tag, added more dew drop accents around the outer punched border and using a butterfly shape from the die cut shape collection I had a finished card.




Thanks for stopping by today.. and be sure to visit often when I have so many great things to share with you.


Tuesday, June 28, 2016

Fab Scraps1st design team project using C88 Floral Dream Collection


C88  Floral Dream Collection Layout for Fab Scraps

This is my first posting for Fab Scraps. I am super excited to share my layout using amazing C88 Floral Dream Collection. This collection had amazing colour, stencil, chipboard and fun accents to create with. Details are below. 

FOR THIS LAYOUT YOU WILL NEED:
Paper: C88 005 Merry Weather
Chipboard: DC 88 009 Fairy in Moon
Ink: Tim Holtz mini
Stencil: DS 005 Floral Dreams Filigree Frame
Other: Cardstock, Ink, Alpha, flowers

INSTRUCTIONS:
STEP 1: start with a misc cardstock base 12x12”. Fold the paper diagonally from corner to corner. Use upper half of the print flowers and the bottom right is the polka dot pattern. Firmly glue down to the cardstock
STEP 2: Fussy cut lots of the accents from the print paper… the cute image section with flowers, small flowers and the bird with circular stamp section.  Ink the edges for depth and dimension.
STEP 3: Ink colour the chipboard accent… matching the paper colours.
STEP 4. Roughly determine your photo and accent placement. Things will flow through the central diagonal section.
STEP 5: With the rough placement of photo and accents determine where the floral stencil will best fit the background of your paper. I used Ink stamps with the finger sponge to add the stenciling.
STEP 6: When clustering the accents… leave some on level height while foam popping some up for more depth.
STEP 7: Using some additional accents add the butterfly and some additional florals along with the fussy cut paper ones.
STEP 8: in the open space add the alpha letters for you titling. I also added a few misc arrow accents also.


Thanks for stopping by.. be sure to come again .. when I get to share more Fab Scrap projects... you won't want to miss what I have to share.


Monday, June 27, 2016

Double page Dance pages using products from my DT The Rubber Buggy


hi.. I am sharing double dance pages today. The page above "Tap"with the great photos worked perfectly with  my DT products from The Rubber Buggy. I used Graphic 45 Christmas Carol 6x6" pad. Not all pages need to be created using 12x12" papers and there are so many of these smaller size pads available now. There are used only on the right side only of this double.
Lots of fun accents, award ribbons and certificates are used to complete this double..... filled with dance memories.

Supply List:
The Rubber Buggy Products:
Paper: Graphic 45 Christmas Carol
Other: signo white gel pen, metal title, cardstock, SRM stickers, staples, punchinella


On this 2nd double page I am using Heartfelt Creations Sugar Hollow Collection with a lot of coloured layers from left to right. Some of the paper collection had great accents to cut out. Again I added fabulous ribbons to embellish this double page. 

Supply List:
The Rubber Buggy Products
Paper: Heartfelt Creations Sugar Hollow Collection
Other: Brad, stickers, staples, punchinella, alpha letters

Thanks for visiting today.. be sure to check all the amazing 6x6" pads available in the store... great for so many projects.


Prom page up at The Rubber Buggy using 7 Dot Studios


My Eldest Grand Daughters Graduation before going off to University... OMG they grow up so fast. They are all so beautiful. Today at The Rubber Buggy I am sharing this page using 7 Dot Studio Paper Collection. This page was done with lots of layers, some fussy cutting and some great accents. I love the soft neutral tones of this page.... makes the photos pop.

Supply List:
The Rubber Buggy Products:
Paper: 7 Dot Studios Nature Walk
Other: bling, alpha, stickers, flowers


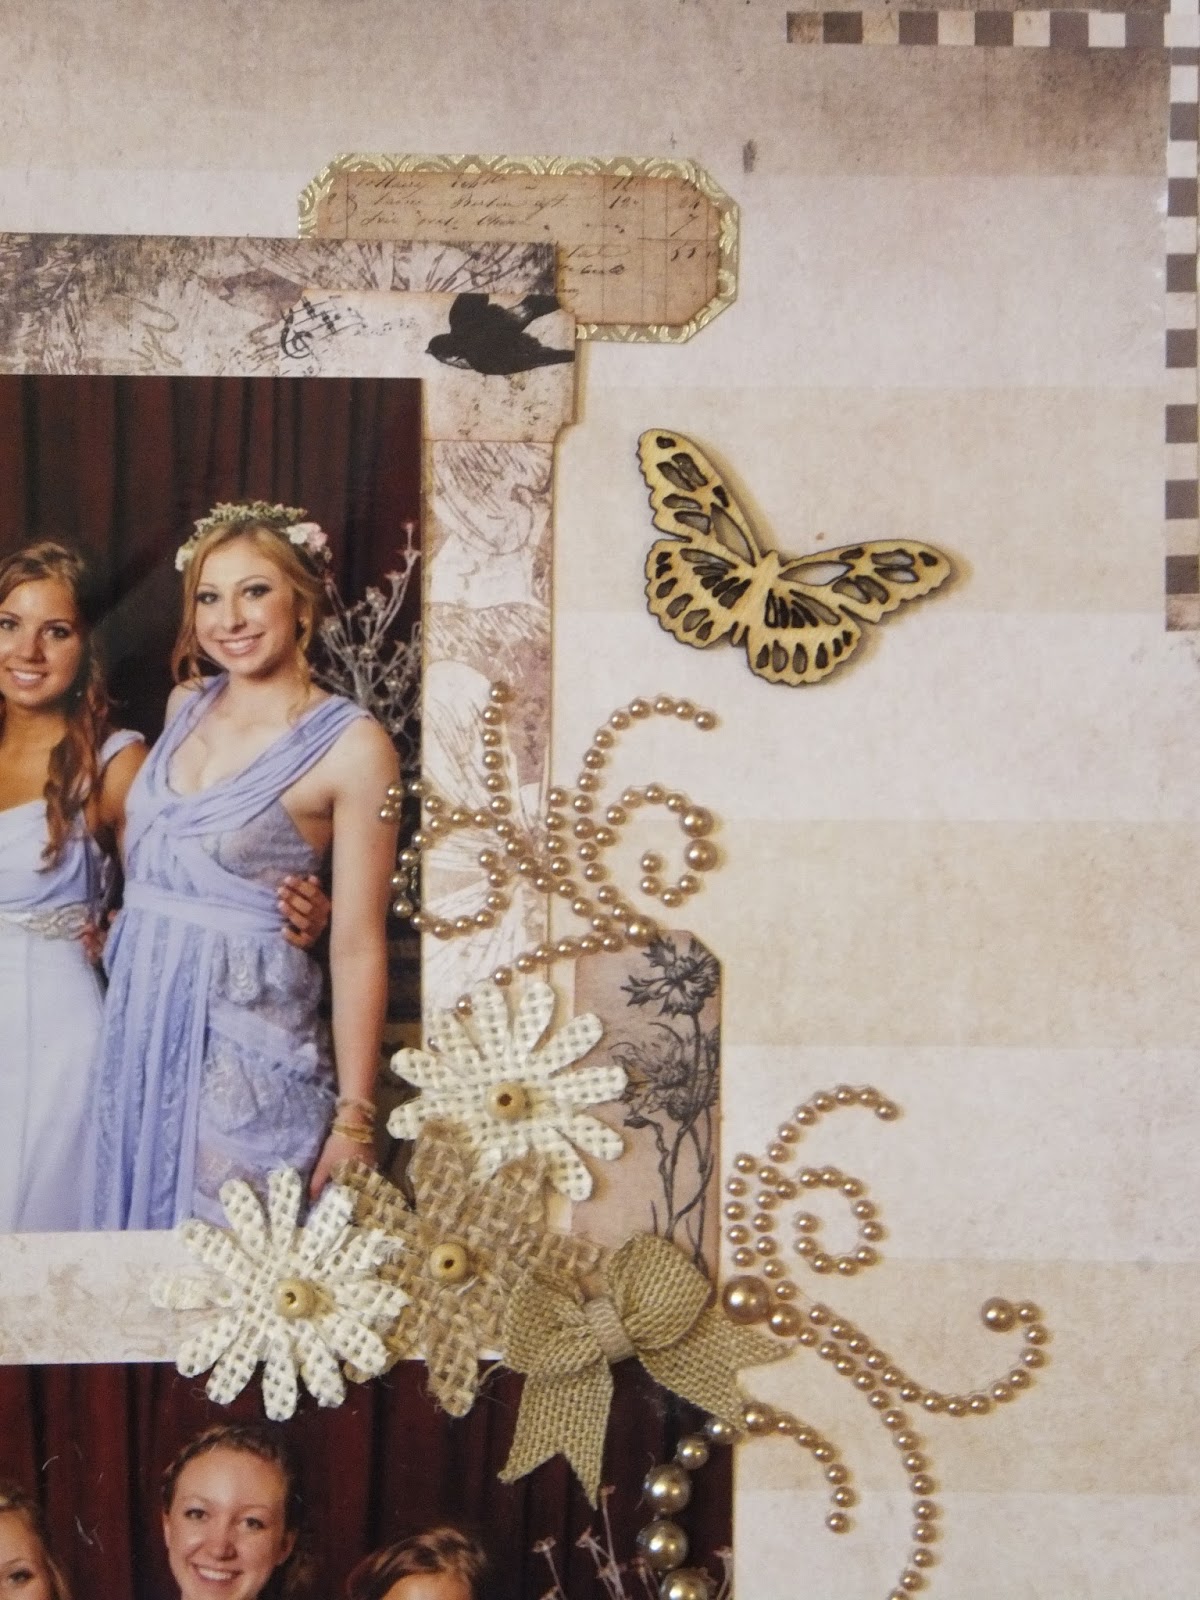
Some details show up better in the close ups. Here you see the floral section that is fussy cut to frame the left side and some of the photos.


Lots of fun layers with change of colours for depth was perfect. Then add the florals, bling accents and the mixed alpha title.


Some additional tags, butterflies and some corner strips add dimension to any page.


More layers for depth in every corner.. even a touch of bling in this small piece of paper.


Thanks for stopping ... hope to see you again soon,


Friday, June 24, 2016

Choose Happy using Robin's Nest Products


Today at The Robin's Nest I am creating "choose Happy" page with a mom and daughter photo. This collection can be used for guys or gals pages. One side soft with florals, bold stripes on the other side.

Supply List:
The Robin's Nest Products
Paper: Genuine Boy Collection, Boy Swirl Glitter CardstockBoy Star Glitter Cardstock, Daisy Stripe Teal, cream glitter cardstock
Accents: diamond dew drops, periwinkle flowers, azure ribbonteal glitter journal,
Doily: Gina's Design
Other: burlap flowers, white signo gel pen, cork title


Instructions:
1. pull photos, accents, papers. It's a busy background so some plain glitter paper to separate things is perfect.
2. I started with the slanted border first across the full bottom edge. The dark brown thin border was also added with some white signo gel pen stitches.


3. Decide on the layers and colours to background the photo. I started with the cream glitter and worked my way forward with the cream and teal floral. The photo is matted in the matching teal shade. I was  missing something so I then added the dark brown with blue star strip to pull it together.


4. For accents I worked with Gina's Design doily and the fun cork sticker. I added the ribbon accent. Above the photo on top left is a burlap butterfly.


5. The trend today is to add clusters off in corners.. so my cluster used accent papers and the fun diamond dew drops. 


6. below the photo I added the journal accent and around it I added flowers both in paper and burlap.
7. You can finish your page anyway you like with as many accents as you like. You make it your own.


Thanks for stopping by.... enjoyed sharing with you today. 

Thursday, June 23, 2016

Sneak Peak at Robin's Nest Products

Today at The Robin's Nest I am creating "choose Happy" page with a mom and daughter photo. This collection can be used for guys or gals pages. One side soft with florals, bold stripes on the other side.


Thanks for stopping by.... enjoyed sharing with you today. Stop by the Robin's Nest blog for the full reveal.