Showing posts with label Double Diamond Card. Show all posts

Monday, October 17, 2016

"Best Wishing" Double Diamond card design using Creative Embellishments


Hi everyone... are you up to making something beautiful but not as hard as it looks... well then sure hope you'll join me making this amazing double diamond shaped card. Thanks to CastlePark Designs with the instruction sheet below I'll walk you through the process and you can make on too. When these are done they are stunning.. and they still stand up too.
I totally love the small words collections from Creative Embellishments to put on cards, mini albums and for so many other projects that need those smaller words.

Supply List:
Creative Embellishment Products
Chipboards: small words,  hearts, flourish 11
Other: twine, Tim Holtz ranger ink, Blue Fern Studio Courtship Lane paper, Robin's Nest dew drops


So using cardstock 12" x 7" follow the instruction sheet to score the lines. 


Cut off the ends as shown. This photo shows you what they mean by mountain and valley folds... the up and down are visible for you to see in this photo.
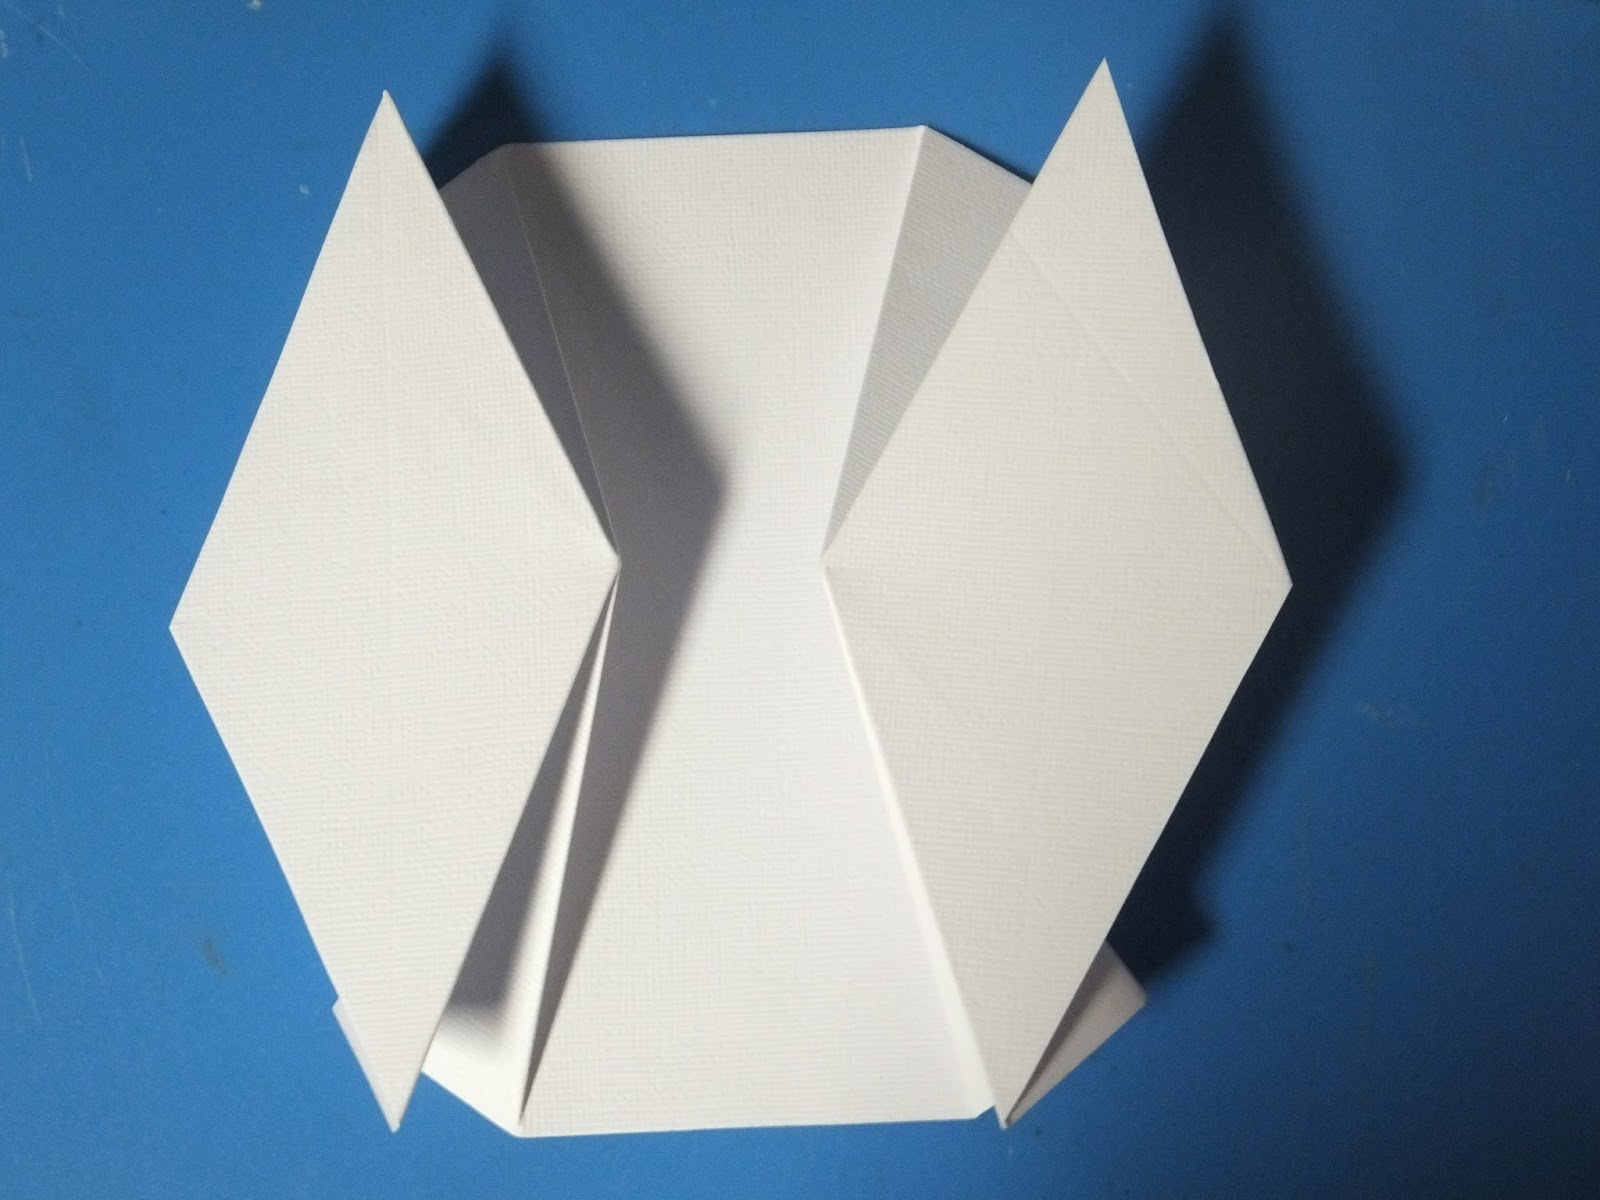

Here I firmly pressed down and creased the lines. 

TIP: If this is the first time you are making this shaped card my tip to you is to make this same shape base again. With this one I cut the pieces about and sized them down all outer edges by a thin 1/8" so you can trace the pieces out of print paper to fit much easier.  Then save these pieces and a copy of the printed instructions to use again... over and over again.


Above are some of the chipboards I pulled from my stash until I decided exactly what I wanted to use. All of these had smaller pieces to fit the different shapes on this style of card.


You can make the card any paper design you like. I like to do the front, inside panel and back diamond with some more bold print from the paper. If you use the tracing stencils my tip instructed to use to make this easier... it's nice to lay the piece over your print on the print paper and view what part of a design will be in the sections. You can trace lightly on the top side and just be sure to cut just inside the pencil mark. Trace and cut all sections..... ink the edges and set aside . 

Next decide what accent will go where and what colour they will be.  I chose to copic colour the chipboards and did them all... and set them aside. I pulled some dew drips and some twine to add to the card accents.

TIP: If adding twine like I did be sure to add it to the panel before gluing it to the card base. That way it wraps around and glues down without putting holes or marks on your card.


The next 3 views share the main sections. The front has dew drops, small word title and a heart. 


The centre section has a flourish, a heart and the pre-wrapped twine before gluing it down.
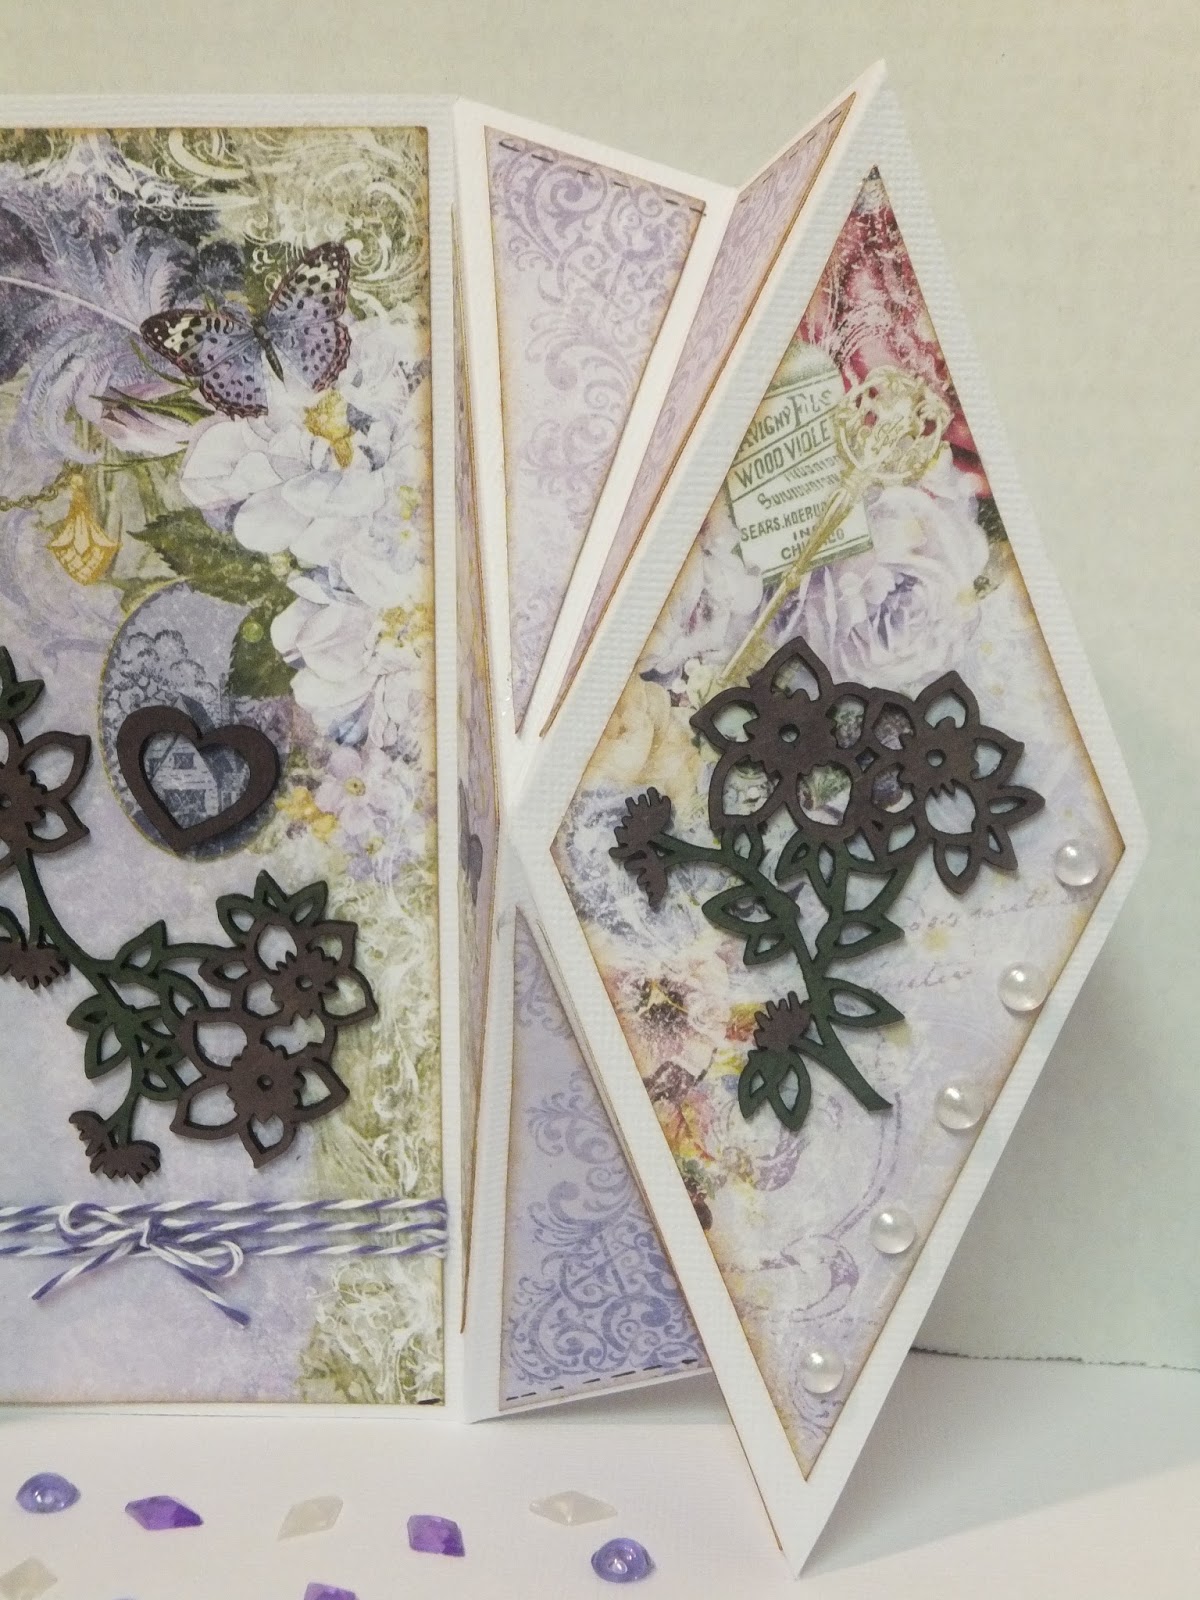

The back diamond has more accenting flourish and some dew drops.  All panel mix and match with paper, colours and accents.


The inner sections I usually tone down a bit to a plainer colour or smaller print so the main 3 pop and are more predominant to the eye. 


Thanks for stopping by today. Sure hope I inspired you to try this card design. Take time to visit the store for viewing all the smaller words, flourishes and other products that would be perfect on your projects.

Saturday, August 6, 2016

Fab Scrap Double Diamond Card using C88 Floral Dreams Collection


This fabulous card is up at Fab Scraps. It uses C88 Floral Dreams Collection which is elegant and rich in colour. Their are super fun vinyl sticker accents too. Details below.

FOR THIS CARD YOU WILL NEED:
Paper: C88 Floral Dreams Collection 003 Sprinkles, 004 Starlight. C87 Journal in Time 008 Travelogue
Chipboard: DC88 006 Make a Wish
Accent: ST88 001 Fairy Princess Vinyl Stickers
Other: Copic markers, Cardstock, SRM Sticker stitches,


INSTRUCTIONS: STEP
1: Following the pattern instruction sheet below from Castlepark Designs make your card base out of cardstock.


STEP 2: Trim and fold as per instruction sheet above.


STEP 3: Using a paper collection you have so many options to decorate the folded spaces. You can make the pieces an exact fit or do like I do and make them 1/8” smaller on all side to leave a border accent. I love the pop of colour prints with a white cardstock background. (tip – trace a 2nd base and cut these pieces apart and use them to trace the pieces – some pieces are the same identical size just flip them around to fit the space – keep these tracer pieces in an envelope stapled to the pattern sheet for re –using over and over again). The centre one is easier so just mark the paper and cut it.


STEP 4: Using the stencils you made trace and cut the pieces to fit all sections.


STEP 5: Glue the pieces especially careful to get to the edges of each.

STEP 6: This photo shows how your card will stand up.


STEP 7: I copic coloured the chipboard and then matted it with a piece of paper to make it pop. I added some of the vinyl sticker accents to finish the card.


STEP 8: The last accents are the stitch looking SRM stickers. If you have a sewing machine you could stitch on for real.


STEP 9: The card fold down on both sides to fit a large envelope…. Or custom make you own.


Thanks for visiting today. Can’t wait to see you again soon.


Monday, December 28, 2015

The Rubber Buggy - Double Diamond card


HI.. today at The Rubber Buggy I am excited to share with you this fabulous card using Maja Design A Gift for You collection. I thought we'd step out of our comfort zone and try a new card shape. This is the Double Diamond Fold Card. 

Supply List:
The Rubber Buggy Products:

Cardstock base:misc

Dew Drops: Robin's Nest

Twine: Bella Creations Timeless twine

Here is the link to the instructions and template to make it.
http://www.allfreepapercrafts.com/Birthday-Cards/Happy-Birthday-Fancy-Fold-Card

and here is the template link: 
https://castleparkdesigns.files.wordpress.com/2014/12/double-diamond-fold-template.png

Here is a close up of my card. 

**Please note the start template is 7"x12" (not marked on template that I could see)** 


and here is the closed version for viewing and this would be the envelope size required 6x7" 

Thanks for visiting..see you  again soon.