

Hi everyone... are you up to making something beautiful but not as hard as it looks... well then sure hope you'll join me making this amazing double diamond shaped card. Thanks to CastlePark Designs with the instruction sheet below I'll walk you through the process and you can make on too. When these are done they are stunning.. and they still stand up too.
I totally love the small words collections from Creative Embellishments to put on cards, mini albums and for so many other projects that need those smaller words.
Supply List:
Creative Embellishment Products
Other: twine, Tim Holtz ranger ink, Blue Fern Studio Courtship Lane paper, Robin's Nest dew drops


So using cardstock 12" x 7" follow the instruction sheet to score the lines.

Cut off the ends as shown. This photo shows you what they mean by mountain and valley folds... the up and down are visible for you to see in this photo.
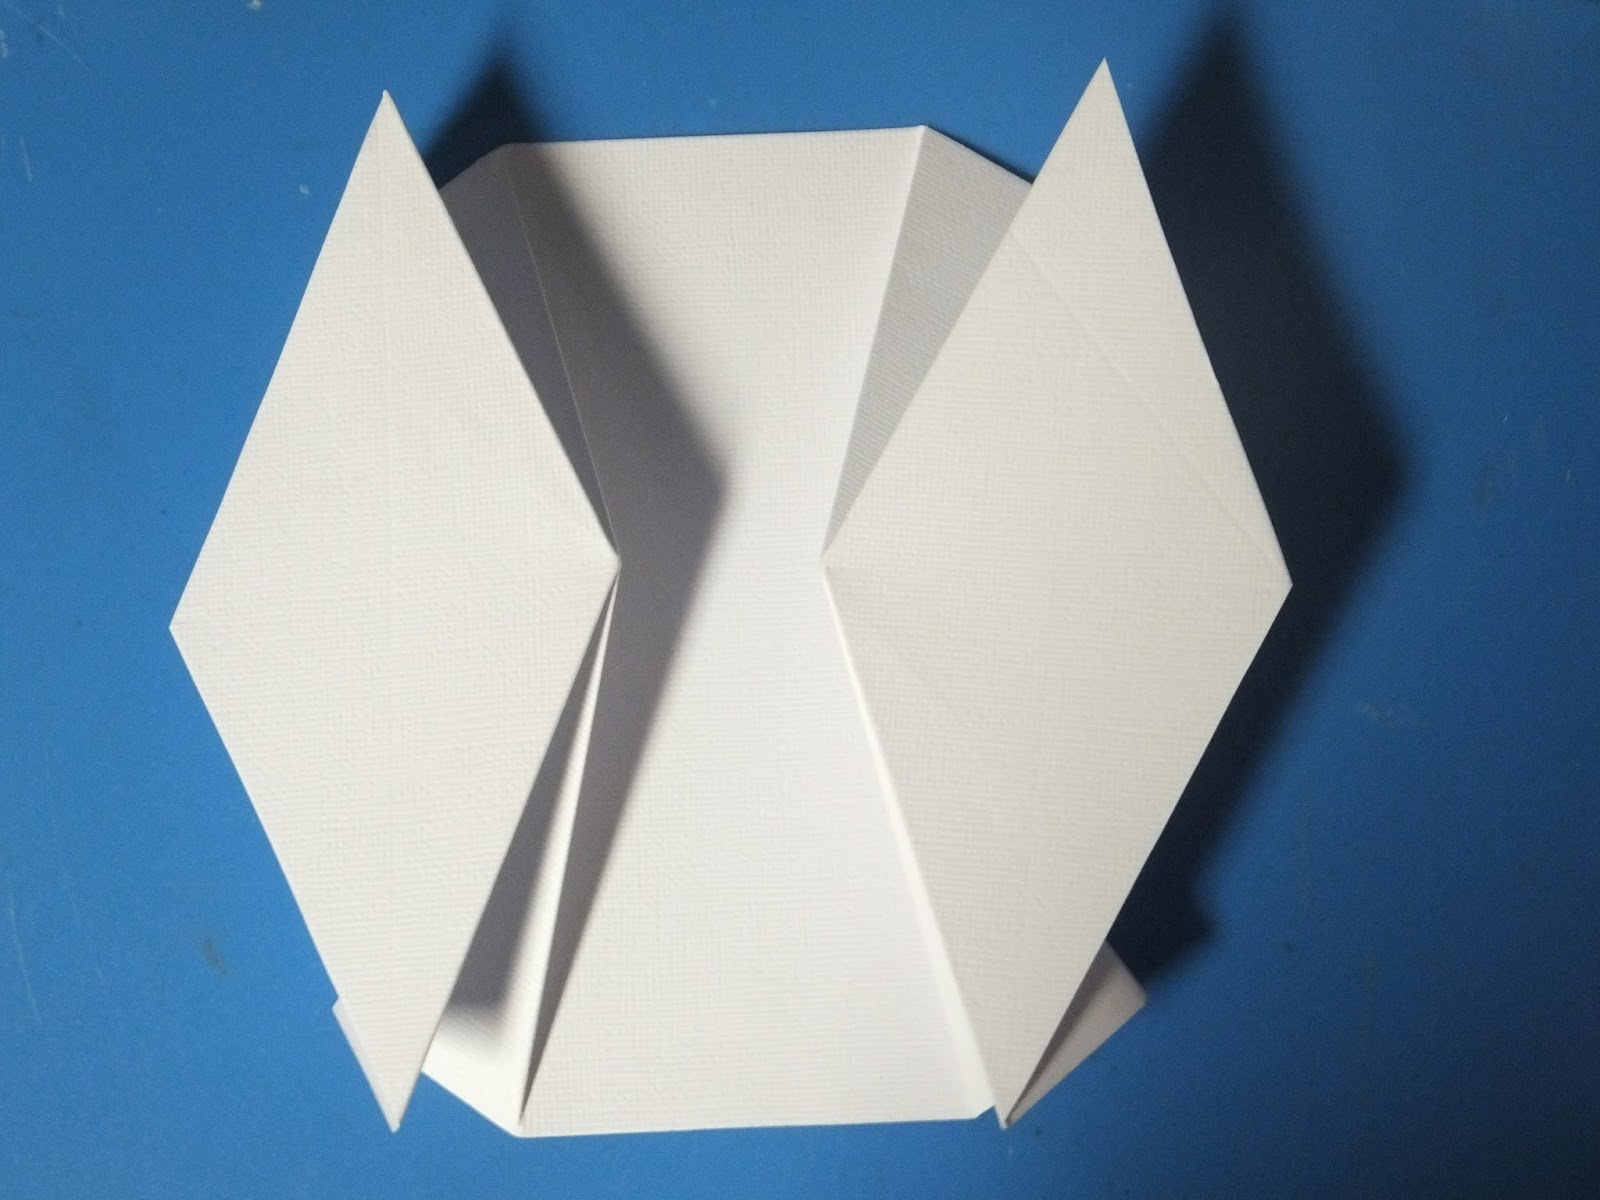
Here I firmly pressed down and creased the lines.
TIP: If this is the first time you are making this shaped card my tip to you is to make this same shape base again. With this one I cut the pieces about and sized them down all outer edges by a thin 1/8" so you can trace the pieces out of print paper to fit much easier. Then save these pieces and a copy of the printed instructions to use again... over and over again.

Above are some of the chipboards I pulled from my stash until I decided exactly what I wanted to use. All of these had smaller pieces to fit the different shapes on this style of card.

You can make the card any paper design you like. I like to do the front, inside panel and back diamond with some more bold print from the paper. If you use the tracing stencils my tip instructed to use to make this easier... it's nice to lay the piece over your print on the print paper and view what part of a design will be in the sections. You can trace lightly on the top side and just be sure to cut just inside the pencil mark. Trace and cut all sections..... ink the edges and set aside .
Next decide what accent will go where and what colour they will be. I chose to copic colour the chipboards and did them all... and set them aside. I pulled some dew drips and some twine to add to the card accents.
TIP: If adding twine like I did be sure to add it to the panel before gluing it to the card base. That way it wraps around and glues down without putting holes or marks on your card.

The next 3 views share the main sections. The front has dew drops, small word title and a heart.

The centre section has a flourish, a heart and the pre-wrapped twine before gluing it down.
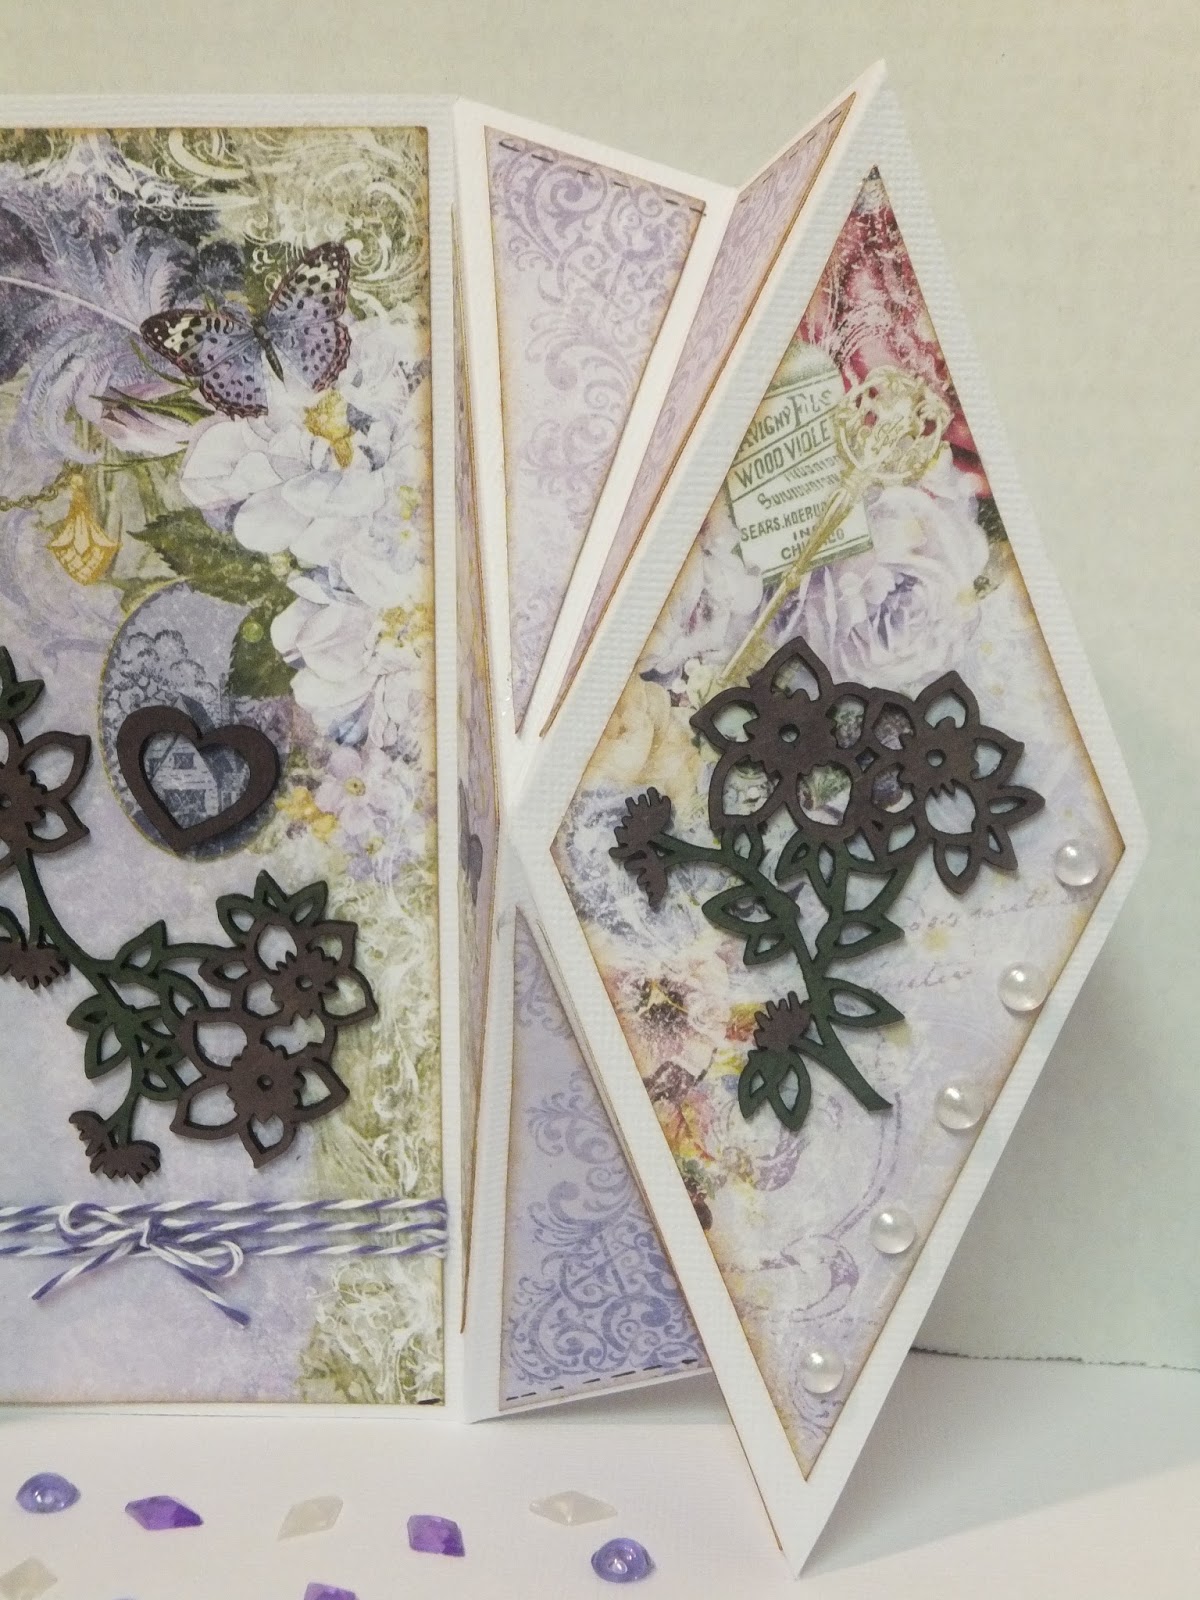
The back diamond has more accenting flourish and some dew drops. All panel mix and match with paper, colours and accents.

The inner sections I usually tone down a bit to a plainer colour or smaller print so the main 3 pop and are more predominant to the eye.


Thanks for stopping by today. Sure hope I inspired you to try this card design. Take time to visit the store for viewing all the smaller words, flourishes and other products that would be perfect on your projects.

1 comment:
This is lovely! It does look complicated; maybe I'll give it a try sometime. BL
Post a Comment