

Hi everyone. Bev here today to share my first project as part of the Creative Embellishment Design Team. I am super excited to get the opportunity to create with amazing product line that never stops growing... always something new for all crafters. My page celebrating my Grand Daughters 13th birthday used an amazing mix of stencils, stamps, flair buttons and never ending choice of chipboards. Using ink, mist, copic markers and modeling paste gives any project colour, depth and texture to pop the photo that tells the story.
Supply List:
Creative Embellishment Products
Flair: Butterfly flair
Stencil: Circle Bokeh
Stamp: Paint Splatter Trio
Other: doily, ink, mist, copics, modeling paste, lace, Maja Design Sommartider collection, TCW stencil, AC cardstock, flowers and leaves

Using the Creative Embellishment circle stencil I started by misting and more open space misting and changing colours. I then used the stencil to add modeling paste circles only throughout the background. This is like using the positive and the negative to get a different effect using the same stencil.

Placing the proposed photos onto the background I now estimated the placement of the stamping across the lower edge of page and also the upper right corner using ink pads and the finger pad tool.

On the chipboard I used color box ink to colour the arrow frame,

On the small words for my title I used copic markers which made coverage much easier.

I now used copic markers on pieces of the circular 6x6 panel to colour them... cut them to fit the corner and glued down. I cut papers and inked them and placed them where they should be below the photos I chose.

In the close up shots I added the doily behind the papers, added the frame around the main photo, matted the 2nd smaller photo for more colour and depth and add the title Happy Birthday.

I added 2 flair button accents, a lace border and 2 clusters of flowers.
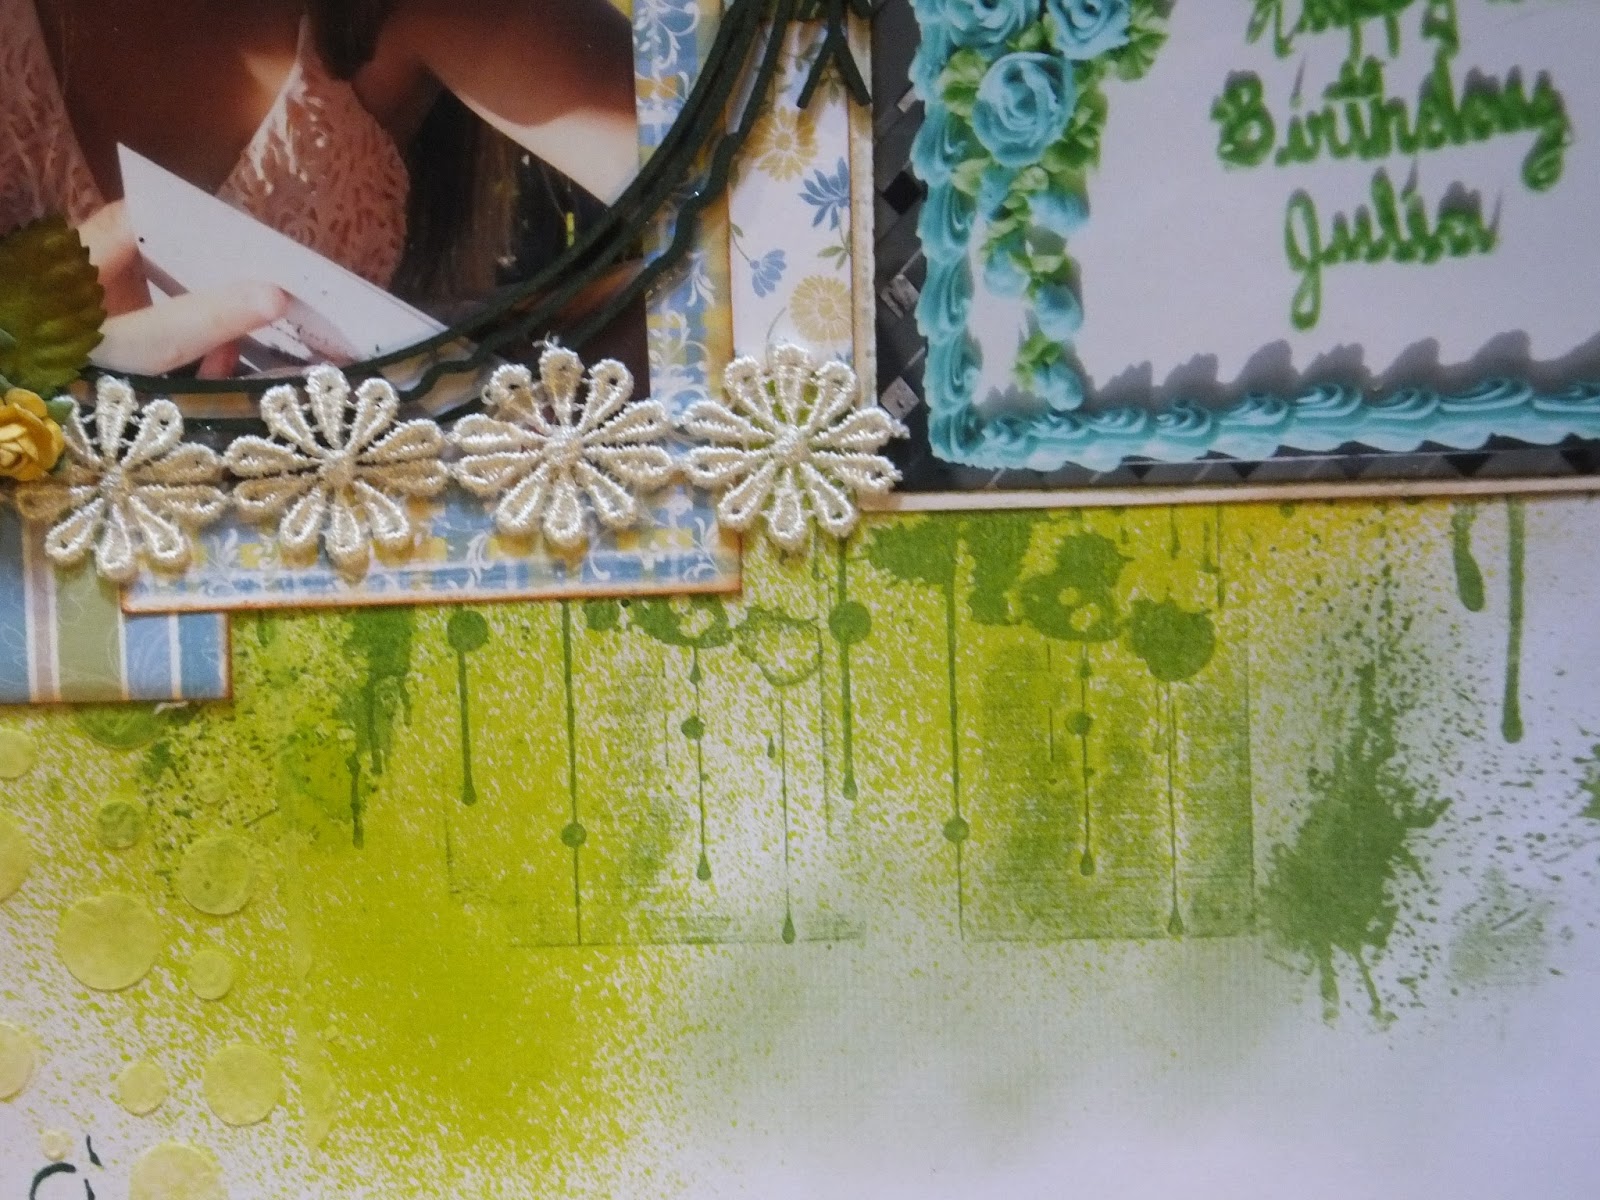
Notice the amazing stamped splatter over the previous misted background.

Using some circular TCW stencils I added a few very dark green inked circles to compliment the Creative Embellishment circular stencil.

Here is the central section of the page where the photo is front and centre but accented beautifully with all the amazing products.


Thanks for stopping by to view my 1st ever Creative Embellishment project... sure hope to see you again when I use even more fabulous products.

3 comments:
Loving that chipboard and all things using modeling paste, I love that stuff! Beautiful layout! Kate-BL
This is beautiful. Bloggie love
Congratulations! This is a beautiful layout. I love the messy background and elements you have used to create such wonderful texture. bl
Post a Comment