Today I am sharing fabulous family pages using products from
The Rubber Buggy. This is the Classic Sunflower Collections from Heartfelt Creations. My favourite thing to do is create family memories to give to them preserving memories custom made by me.
Watch a video I made for this layout.
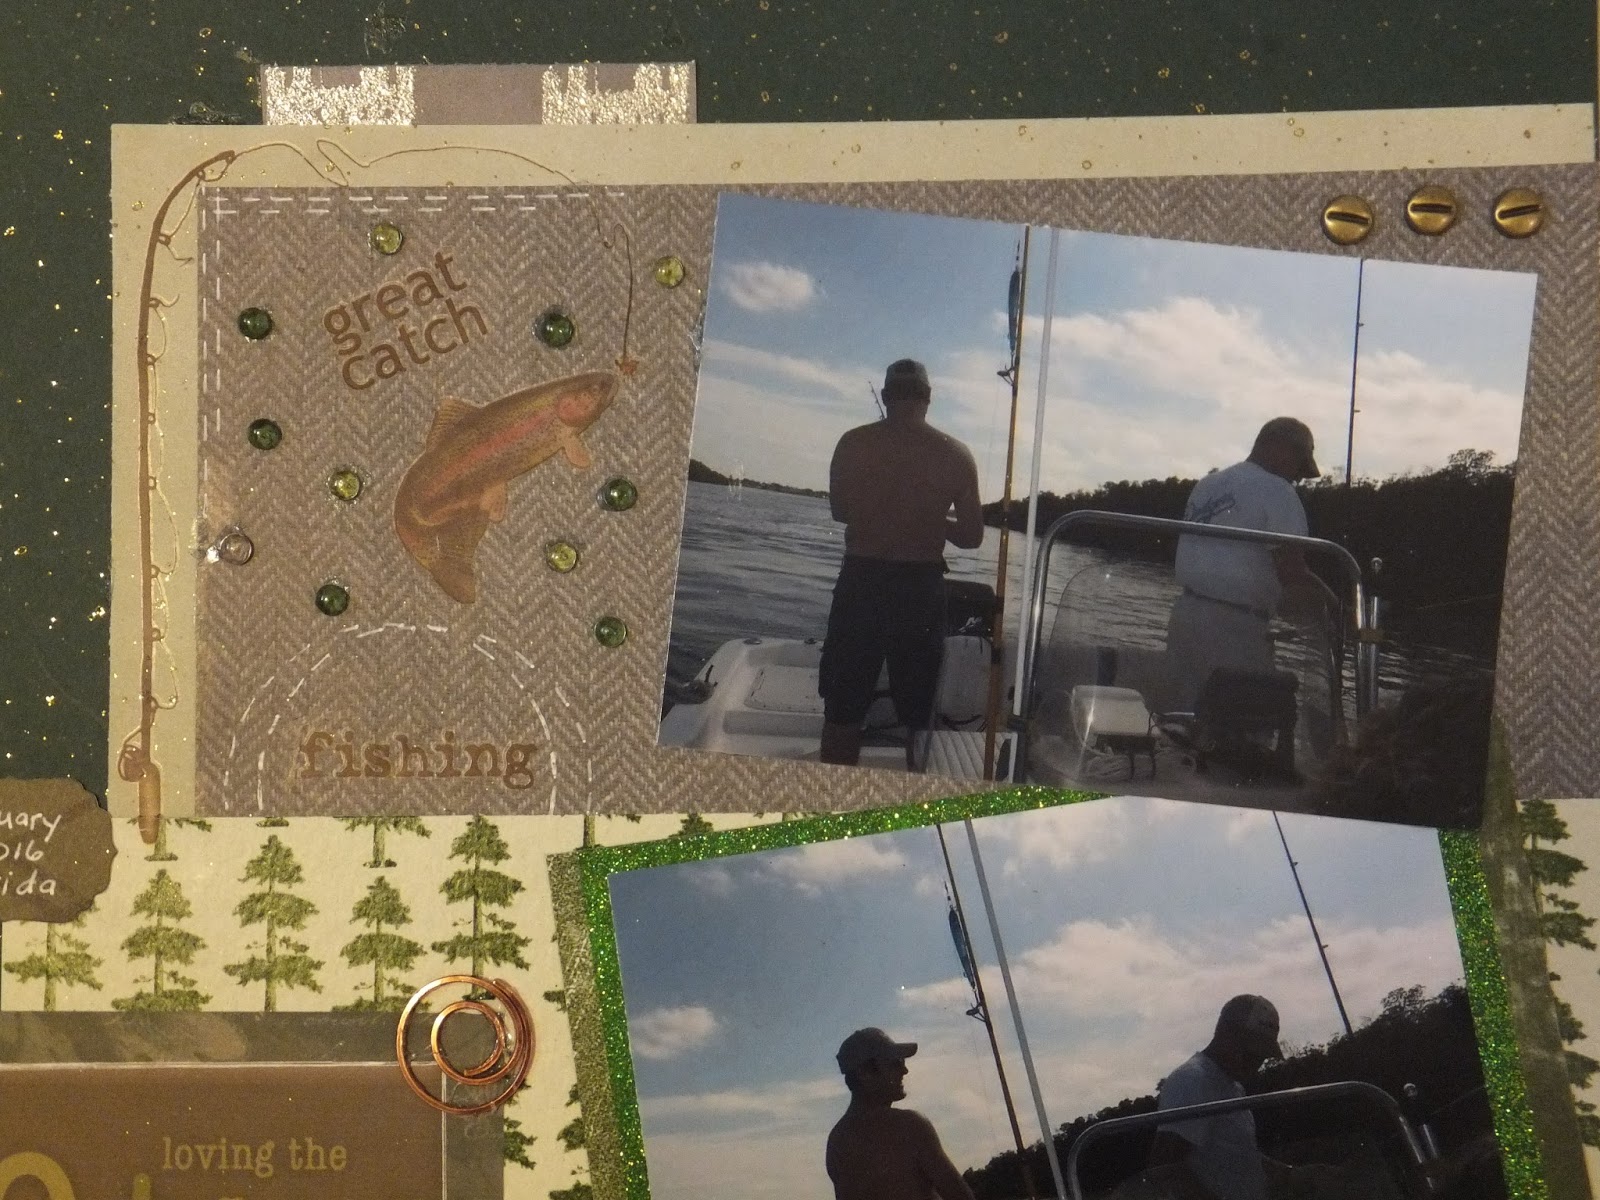
Here are some close up shots for your viewing too.


Instructions: Starting with your background paper choice.. pull at least 3 accent choices for layering. Grab some tag, ticket, photo frame and fussy cut optional pieces and a title you make yourself or from your stash. First you'll place your photos in the vicinity on the page so you can size and layer the accent papers. I worked one photo into a collection frame but cutting it down a bit. When layering it's best to layer in light to dark or soft and bold so each layer pops. I ran the dark brown/read piece across the back, added the right side piece under the unmatted photo and spaced the framed photo to the left side. At the upper edge of the previous layers I added the fun word print piece and just slipped the edge under. When working with layers it's best to ink all the edges so each piece has a defined edge. In the upper right corner I fussy cut the sunflowers off a sheet and worked it into the other papers. With the whole background with photos done I choose to add texturing using a stencil and modeling paste. To protect the photos I covered them up and did the stenciling. While the stenciling is drying you can take time now to gather some possible accents for your page. More is better and you can change things up as you go along. I chose to cluster between the photos with 2 tags, doily, piece of mesh and tied off tags with a brad and twine. Next I copic coloured the chipboard base first and then added liquid pearls for more sparkle. In 3 locations I added pearls and bling, I added a ticket accent and finally the glitter title. I always try to make sure that the photos pop off the page and to decorate without losing the fabulous designs in the papers. Just enough of everything is perfect on any project.
*****************************************************************************
Supply List:
The Rubber Buggy Products
Other: cardstock, twine, Bo Bunny jewels, stickles, flowers, ribbons, cardstock, gold film accents
Here are some close up shots for your viewing too.


Instructions: Start by choosing your background, papers that match, some cardstock, your photos, title and possible accents from both the collection and also your stash. Decide on the photo positioning and cut and size some layers for below the photo and some small pieces to float under the photo also. When the background print is so awesome you don't want to cover it all. The one I choose had great sunflowers in the upper right corner that would not be covered. The left side was open from print so I added a cardstock border, matted the photo and added a small piece above the photo. All these add depth and dimension to the page. The decorated border from the collection was perfect to base the photo. I die cut the cardstock accent to the right of photo and the paper collections great accents had the fun tag with I matted and clustered with a gold film accent and tied them off with twine. Fussy cut butterflies were placed on page some flat to page and some popped up. The title and heart are more gold film accents. Lots of stickles added to sparkle the page and the small cluster of flowers with a double ribbon bow were the finishing touch.
Thanks for visiting and hope you'll take time to visit
The Rubber Buggy Store to view all the amazing products they have to sell.