Please be sure to hop on over to the Chattering Robin's Blog and checkout everyone else's creations using Robin's Nest. and Smoothfoam product and be sure to become a follower of each blog for a chance to win prizes...now who doesn't love prizes??? I know I do."
What is Smoothfoam?
Smoothfoam is our brand name for molded EPS or Expandable Polystyrene. It is a smooth, closed cell foam, most commonly referred to as smooth Styrofoam ®. It is molded from tiny beads into many shapes like balls, bells, eggs, miniature fruit shapes and more. Because of its smooth surface it is excellent for painting. It is also very durable, making it great for projects requiring pins or glue.
Here is my fun mix of ornaments using
Smoothfoam and
Robin's Nest Products. There were so many fun shapes and fun ideas to making these cute ornaments.
Starting left to right:
1. On the round ball I used sparkle Robin's Nest paper cut snowflakes, strips of paper and dew drops. Just add glue and it's done.
2. The full shaped star was a little harder or time consuming. I ripped Robin's nest silver creme paper into small (very tiny) pieces and individually glued them on overlapping to cover the full space. When the paper was fully dried I covered with glossy accents for a shiny top coat and to help the out edges of each small piece lay flatter. On some of the outer and upper edges i added some silver stickles for glitter.
3. On the flat bell shape I added gesso with some fun lines in the texture to give some depth. I then added ink to the upper raised gesso edges, added paint to outer edges, and added stickles to the out shape of the bell. I then added Robin's Nest gem stones to decorate with co-ordinating shades of blue stones... perfect touch.
4. The candy cane shape was so easy.. just added red Robin's Nest sparkled paper stripes with glue.
5. The gingerbread boy frame i traced on Robin's Nest sparkles gold paper, added paper vest and bowtie, added gemstone face and added a few stickles accents. The outer edges and back was painted.
6. The full shaped xmas tree was first painted and streaked for depth and the lots of fun Robin's Nest glitter gem stones.. i used 3 different colours to look like decorations on the tree. Also added a few drops of stickles for flatter depth on tree.
When these were all done I remembered this vase with fun coloured sparkle paper that I had received with chocolates in it from a friend. It was the perfect mix of colours and with placement of the ornaments in it I would have a great centre piece.
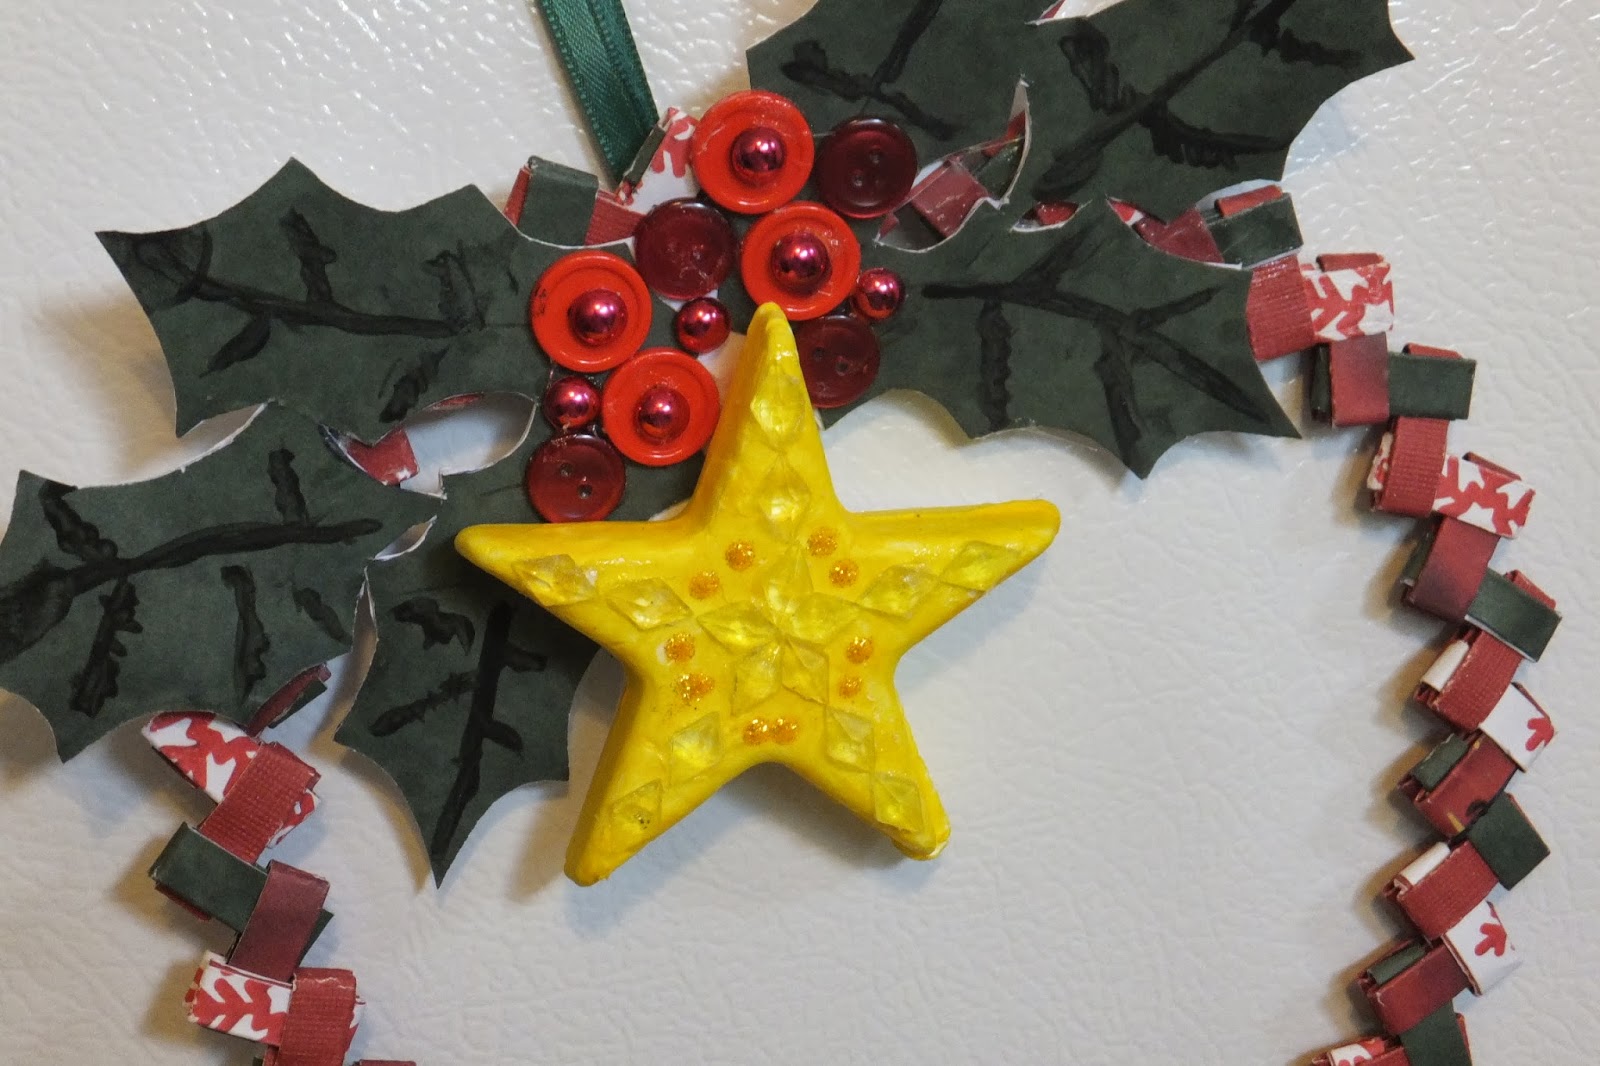
I still had some ornaments left and could think of more fun ways to decorate just the ornaments so came up with what I think is a cool xmas decoration that needed that finishing touch of a smoothfoam ornament.. it was perfect.
To take the photo and have a white background I hung it on the fridge and actually it looks great there.. or hanging on the wall would be perfect too.
On this project I used Robin's Nest xmas paper collection and cut strips to make the weaved paper wreath.
When I was a kid I used to make these chains from the gum wrappers? Did you ever do this?
Here is a link on how to make the basic link paper chain....
http://www.bhg.com/christmas/crafts/folded-paper-wreath-ornament/
I traced and cut the holly greens and added some painted veins.. the berries are made up of buttons and Robin's Nest dew drops. It has a ribbon hanger.
The ornament was started with a base of yellow paint and then accented with more yellow and clear Robin's Nest gem stones... and just a touch of stickles too. It was the finishing touch to the holly clustered accent to my cute paper wreath.
.JPG)
.JPG)

And last but not least I gave the little girl next door and her mom a few ornaments to play with also... a few xmas papers and some Robin's Nest gem stones... here is what they have to share with you.
So Kids can play along making ornaments too.. they'll love it.
Be sure to check out what the rest of the DT did with these fun Smoothfoam ornaments
and the
Robin's Nest Products on their blog.


.JPG)
.JPG)
.JPG)
.JPG)
.JPG)


