Showing posts with label blog hop. Show all posts

Saturday, June 16, 2018

AMB Illustrations and Crafter's Castle Challenge June YOUTUBE BLOG HOP


Hello everyone and welcome to Crafter’s Castle YouTube Video Hop featuring AMB Illustrations! It starts today, Saturday June 16, and goes through Friday June 22, giving you plenty of time to watch all 7 design team members videos. Links are below to the teams video line-up.
Here are the details on how to enter and the Grand Prize being offered.
WATCH ALL 7 design team members entire Hop videos.
SUBSCRIBE to ALL 7 design team members.....and be sure we can SEE that you have subscribed.
LEAVE A COMMENT on ALL 7 videos....not just any comment....comment on something specific you saw in the video.
Also, if you are a new subbie let me us know. And it would be fun to know where you’re from. And if you like what you saw PLEASE give a THUMBS up. Thank you!
Once you have done all of these things send an e-mail to 4crafterscastle@gmail.com telling me that you have done ALL of the requirements, and put Hop Entry in the subject line.
The Grand Prize winner will receive the AMB Illustrations digital paper packs and clip art sets used by the design team in the Hop videos!!! Also, listen close at each channel because there might be other giveaways!
Thank you for HOPPING along with us!
DT Line-Up
Janie https://youtu.be/71_OkJmc45U
Jeanie https://youtu.be/zPtOxCF2lf4
Bev https://youtu.be/zMR9pzlWKT4 YOU are HERE
Priya https://youtu.be/lrOojuNMEN4
Mike https://youtu.be/PYkLnla5xAQ
Maranda https://youtu.be/f-5BBu_LWHM
Rebekah https://youtu.be/xP1UcDqeeaY
Please stop by AMB Illustrations and take a look at all the beautiful digital paper packs and clip art they have to offer https://www.etsy.com/shop/AMBillustrations
Thank you for watching. I invite you to visit Crafter’s Castle Blog and enter this month’s Challenge at http://crafterscastle.blogspot.com/

For all that would like to make the butterfly here is the page you print at 8.5x 11 and cut pattern for the butterfly. If you want it slightly smaller just downsize in copier.

Thursday, October 5, 2017

Handyman's Holiday Blog Hop

Image may contain: text

Thank you for joining us on the Handyman’s Holiday Hop. Make the rounds and be inspired.

Our “Be Inspired Giftaway” is featured at D’s Paper Studio. Check out Debby’s blog for details. Four winners will be chosen from comments on all the blog posts in the Handyman’s Holiday Hop.
Thanks to our generous sponsors:

Supply List:
Paper: Paper House Acetate
Accents: Paper House
Stickers: Paper House
Lights: Creative Embellishments
Other: Paint Brush, Ribbons, Beads 

Handymen Holiday Hop Stops
Debby Lewis D's Paper Studio
Bev Code Bee Cee Creativity you are here
Peg Rounds Peg's Crafting Corner up next
Jean Marmo Pages in Time
Connie Mercer Crafty Goodies
Joan Borgelt The Gov's Place
Colleen Lovette Scrappin Granny
Roni Johnson Ink Stains


The next stop is ………. Peg Rounds Peg's Crafting Corner

Anytime you get lost a list of blogs is on D’s Paper Studio at http://debbysdares.blogspot.com OR above.

Wednesday, March 1, 2017

BLOG HOP with SpiegelMomScraps & Creative Embellishments


Hello and thank you for joining us for this fabulous product swap between SpiegelMom Scraps (SMS) and Creative Embellishments (CE)! I had a great time combining the products from these two companies and hope you enjoy our inspiration! Check out my project and let me know what you think by leaving a comment. Remember, you can win a $25.00 gift card to SpiegelMom Scraps OR a $30 gift certificate to Creative Embellishments just by commenting on all the blogs in the blog hop! You have a whole week to complete the hop (until 11:59 p.m. on March 7) - so it's a pretty sweet way to win some scrappy goodies!!


Supply List:
Heartfelt Creations: Paper: All Geared Up. Sunrise Lily 
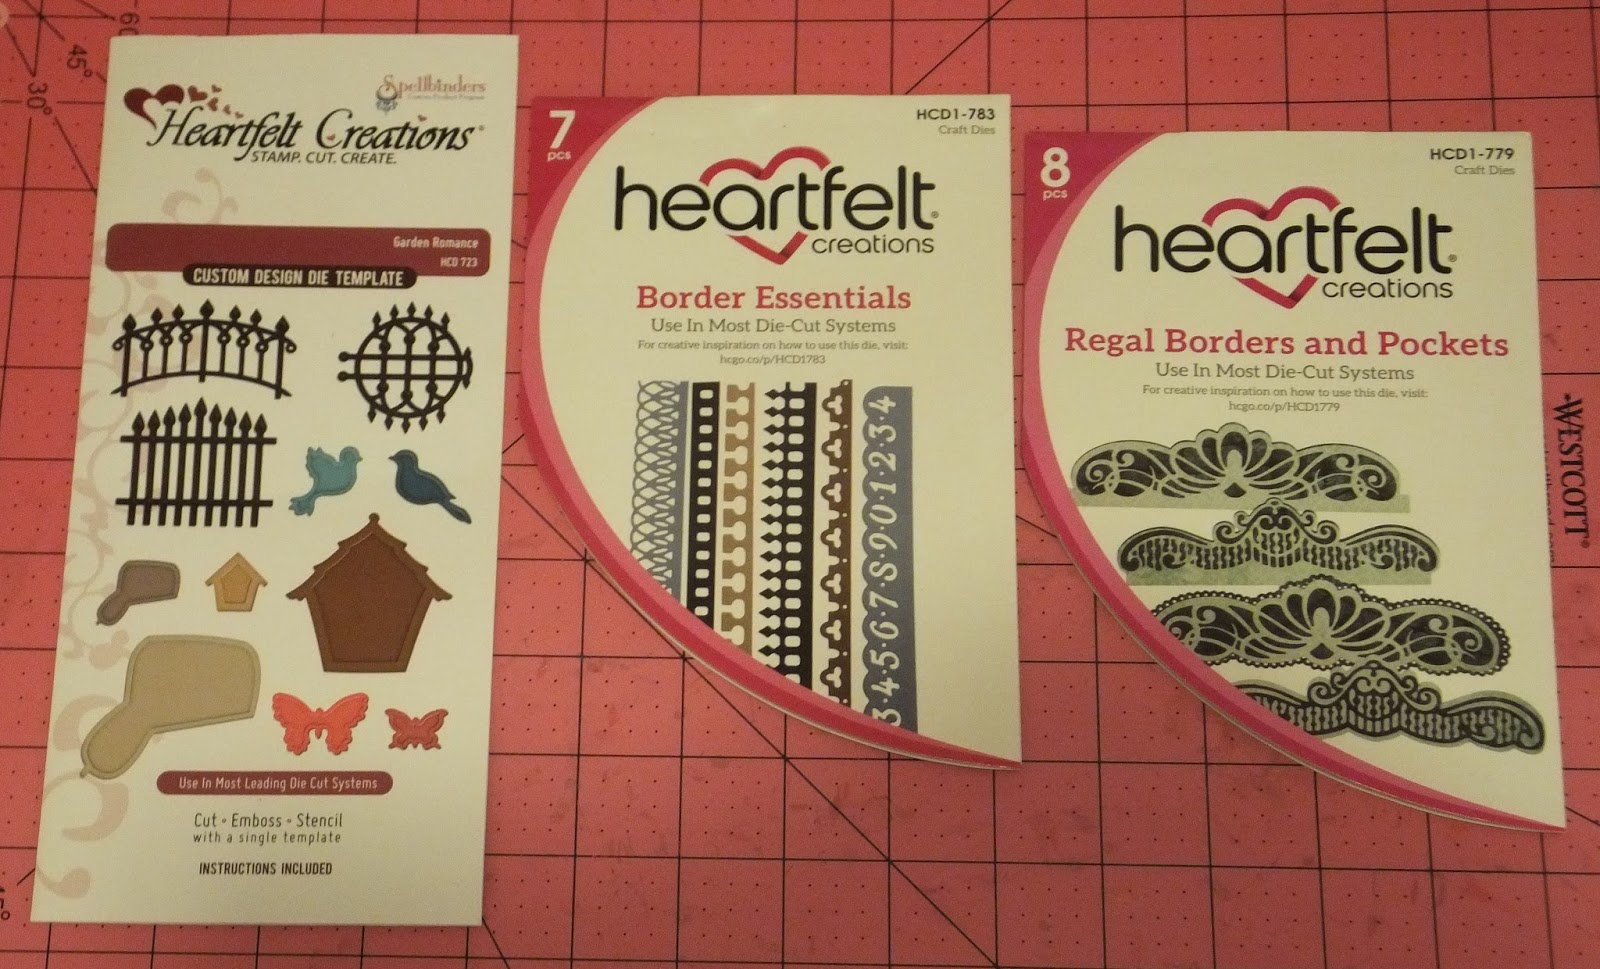
Dies: Delightful Daisy die, Border Essentials die, Wildwood Florals die, Ornate Border & Pocket die, Garden Romance die, 
Other: stickles, enamel dots, beads, ribbon


I started with the Spritz 4 leaf clover Iridescent waterbased sprayable medium for colour and shimmer in my background. I use the plastic bag application along with some misting also. 


At this point I now pulled out photos, papers and accents, stamped, die cut and shaped layered flowers and projected what i wanted for my page. The above photo is taken as a reference when I remove everything to start gluing from the bottom up to the front layer.


Here I am back to gluing the layers coming forward. I am using Heartfelt Creations paper.... I die cut a border using Heartfelt Creations. The paper behind the photo has some floral images which will be the base for some 3D flowers to form a clustered accent.


On this section you can see the Spiegelmom accents - stars and sequins


More stars and sequins in opposite corner. In this close up you can also view the additional Garden Romance picket fence die accents. This collection comes with the butterfly and the bird I used also.


Super duo of tags tied together with a ribbon for a cute cluster accent. Also notice the super border essentials die cut under the photo with the added bead accents.

Heartfelt Creations Ornate border and Pockets die cut and topped off with a Butterfly Flair button.


Starting off with the floral print paper in the background there are lots of fussy cut flowers from the collection and then many more layers die cut flowers shaped with the flower shaping kit. Centres to the flowers are added using enamel dots, a bead or stickles. More stickles added to the fabulous floral cluster for sparkle.

This is a side view of the flowers to give you an idea of the depth and dimension added with there shaped flowers. They are amazing for all your creative projects.

In this section you can see the fabulous chipboards from Creative Embellishments. For this project I decided to leave them plain to added the beige brown colours to my page. The washi tape shapes cluster was a perfect fit with all the other star accents on this page.


This close up is an over view of the central section. As you can see it still showcases the fabulous photos both which are matted either in single or double colours to pop them.


This photos shows the super cute dies that were cut in doubles so I could pop one on top of each other for dimension... a cute bird and the butterfly.

When my page was what I thought was done I received my new star stamp and decided I just had to use it also... so fitting with more stars as an accent. I put them into the upper right corner and as per below photo in the lower left corner.


Thanks so much! Now you’re off to Sara Scraps https://sarascrapsblog.wordpress.com/’s blog.
I know you’ll just love her project!


In case you get lost along the way, here is the list of stops along the blog hop!
SpiegelMom Scraps http://spiegelmomscraps.com/
Creative Embellishments:  https://creativeembellishments.com/blog/
Jody
https://spiegelmomscraps.wordpress.com/
Laura Whitaker blog (March Guest Designer) http://scrappinaroundtheclock.blogspot.com
Hannah http://www.scrapbookpagesandcupcakes.com/spiegelmom-scraps-march-blog-hop
Bev http://beeceecreativity.blogspot.com/2017/03/blog-hop-with-spiegelmomscraps-creative.html 
YOU ARE HERE

Thanks for stopping by.. and don't forget you have all week to Blog Hop.


Thursday, May 5, 2016

Off the Rails Design Team BLOG HOP


Welcome to the Off the Rails Design Team Blog Hops. The theme is fun, bright and colourful.
Team A will start us off today Friday May 6-8 through Sunday. Please visit each blog and leave a comment as your hopping along. 
Narelle Fasulo - http://www.simplystampingwithnarelle.com/
Anguree - http://anguree.blogspot.com/
At the end of the hop please come back here:
Off the Rails Blog

and leave a comment for your ballot to random draw to win a great prize.
*****************************************************************************

Here is my cards I created for the blog hop... they are fun bright and colourful.
I had great fun using ink pads, blending tools, stencils and stamps. I also copic coloured chipboard, add accents and twine... they make great cards for all occasions.
Please follow me and leave a comment so I know you were here and get a ballot for a personal random draw prize.......... and next up is

Friday, April 1, 2016

Turtle Soup April Spring BLOG HOP


Hi everyone….. welcome to the Turtle Soup Spring themed Blog Hop. Hope you enjoy everyone’s inspirational and creative projects. Here is the full list in case you loose your way. Be sure to end at the Turtle blog to leave a comment and get your ballot to win a random prize. Enjoy and off you go hopping…….. thanks

1. Sara - (using Turtle blog) http://turtlesoupmagazine.blogspot.com/
2. Bev http://beeceecreativity.blogspot.com/  (you are here)
14. TURTLE SOUP BLOG http://turtlesoupmagazine.blogspot.com/

I am thrilled to day to share this card with you.... inspired by the blog hop theme and mood board. What better inspiration than flowers and colours.
I am using my newest Heartfelt Creations products from The Rubber Buggy. It prompted me to get out my copics again, use stamps and dies to create some cards. 


I started by stamping the images and the sentiment as per above. I then coloured this section using Tim Holtz ranger mini ink pads and a finger sponge.


These stamped and die cut flowers are coloured with some Tim Holtz ranger mini ink pads with finger sponge.. but then accented the shading with copic markers.


Using my Heartfelt Creations Deluxe Flower shaping tool kit I mold my flowers.


You start on the back side and work them until they curl to you liking.


You can see some signo white gel pen accents on these pieces also.. they were added before sculpting the flowers. Above are 3 different sizes.


Here is a double layer flower. When you turn them over you mold and shape just the centre piece to flatten the flower.  If you want double or triple you glue the centres inside each other.


On my finished card you can see some background flat inked flowers, some single shaped flowers and some double layered sculpted flowers. It great to mix them up. Some flowers are placed on top of the background coloured flowers.. some left plain. On this back ground I used a tan ink to lightly colour the white background, I inked the outer edges and cut the slanted shape for dimension. A print pattern is in the background and lots of fun ribbon accents this card.


You can also see the liquid pearl dot trailer in this photo.


Here is the photo shot showing the fabulous 3D depth in this card.
I enjoyed sharing with you today. Have fun and hop on now to: Deb P


Photobucket