Friday, March 24, 2017

Easter Cards using Robin's Nest Products


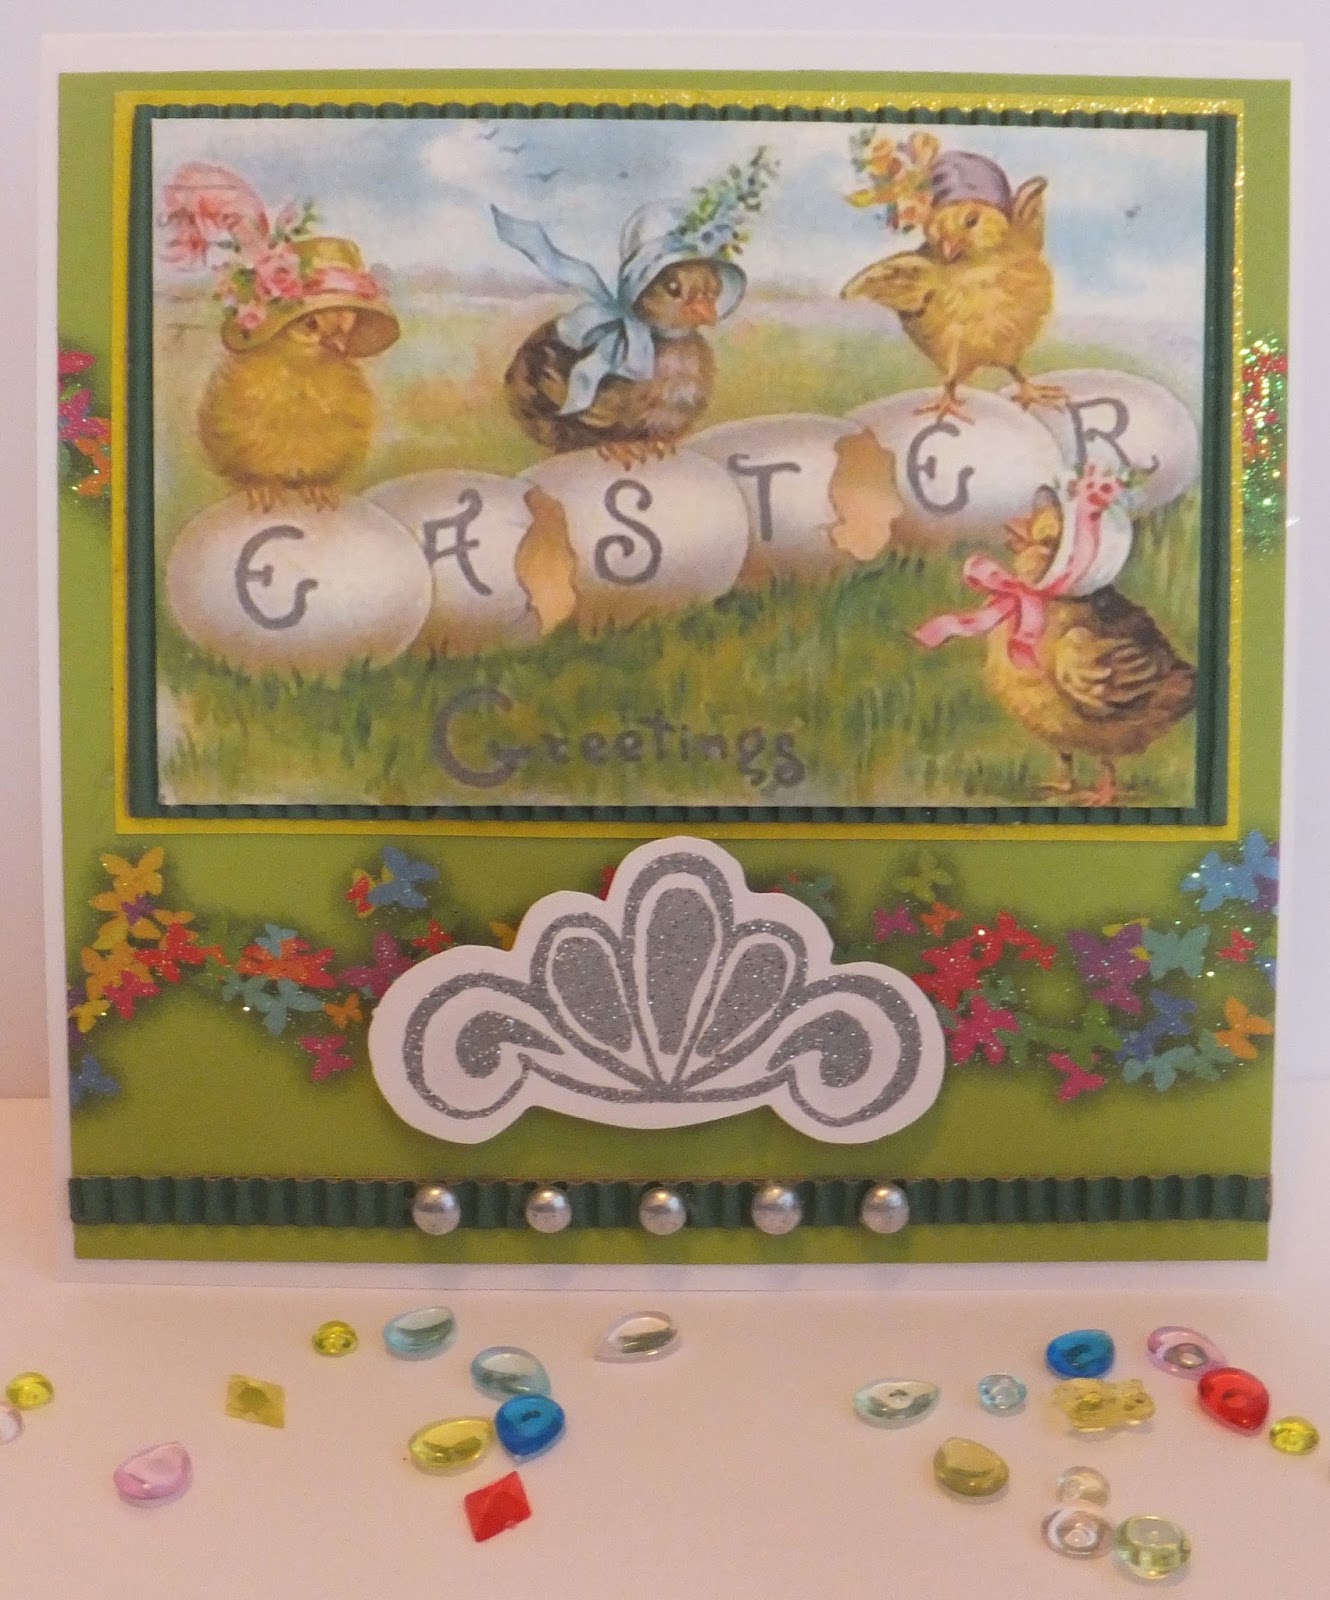
Today at Robin's Nest I am sharing 2 really cute Easter Cards. The papers available with Easter themes and colours making creating so much fun and easy. Add a few accents and your done. Hope these inspire you to create some too. The kids and grandkids will love them.

Supply List
Robin's Nest Products
Papers: Green Butterflies, Bunny Limoncello Glitter Cardstock
Accents: dew drops, Silver arch shell
Other: ink, stamp, cardstock, variegated cardstock, image


Up first I grabbed these papers and an Easter image which I matted.


For this card I grabbed the lemon yellow glitter cardstock and cut the pieces and strips to start the background. The print bunnies is matted with the reverse side of the paper with fun stripes.


The matted print is added to the main base.


Now it was time to add some accents to the base cards. Above the yellow one has added stripe stripes, dew drops and sentiments ink stamped.


The green card has an added yellow glitter cardstock matt added, the sun arch shell die cut, a green variegated strip with dew drops and it's done too.
Both were fun and easy with the cool paper collections and accents.


Thanks for visiting today... hope to see you again soon,


Thursday, March 23, 2017

Amazing Family projects using One Big Happy Family kit from Paper House

Hi everyone. It's Bev here today and I am super excited to share with you some fabulous layout pages using One Big Happy Family Paper Crafting Kit from Paper House. I am sharing family pages today but OMG be sure to check out the store for all the other themed collections that are available.... not only papers but the perfect accents too.


Supply List

Instructions:
When I start a page I usually have photo(s), papers and some accents pulled and placed to start the  page. From there I make adjustments. On this page I thought the bold bright background could use some texturing using modeling paste and a stencil.


Here is the photo of the page starting again from the bottom with stenciled texture, some paper strips and the fab fun clustered corner.


I then go from the bottom and start gluing down the amazing mix of print papers into the layers. I stuck a chipboard accent in between too.


Here is the close up of clustered corner with a great chipboard , print paper and word strips from the collection.


In this section I want to draw your attentions to the cute banner but also the start to my floral clutster of stickers and how to make them 3D. Here I started with just a single sticker flat to surface.


Next I added a foam dots to the floral cluster sticker and placed it above the first one.


So be sure to use those stickers that match to make your own cluster with 3D affect. It looks great.


Here are some additional close up shots to showcase the layout.


Here is more on the floral section with my title made using alpha stickers from the kit.


Super fun corner here with banner, and some added stickers from the kit.


When creating  a page just remember to keep the photo(s) front and centre. 

For your viewing I am sharing a few more layouts using the same amazing One Big Happy Family kit  to give you some inspirations to create with this kit. 


Each page is so different taking on it's own distinct design with mix of colours and accents.


These next 2 went to a lighter coloring... this first one with a paint and sequin background.


This last one used a fun lighter background and then some chevron type cut papers off  to the right side.

Thanks for joining me today............. hope to see you again soon.


Sneak Peak for Robin's Nest

Today at Robin's Nest I am sharing a sneak peak of really cute Easter Cards. The papers available with Easter themes and colours making creating so much fun and easy. Add a few accents and your done. Hope these inspire you to create some too. The kids and grandkids will love them. Be sure to visit their blog for full details and come back tomorrow for my full reveal.


Thanks for visiting today... hope to see you again soon,


Monday, March 20, 2017

The Rubber Buggy Watering Can Tutorial

HI.....I am super excited to share. I had a chance to create with amazing products from The Rubber Buggy. Here is a watering can project I made using Heartfelt Creations products from the store.  Below you will find a template and instructions for making this cute project.

Supply List:
Heartfelt Creations Products
Glue: Art Glitter Dries Clear Adhesive
Other: Spellbinders Labels 46 die, accents, beads, stickles, lace, ribbons, string
Template: see photo attached and original link:


Instructions:
Watering Can Project
Template can be printed and cut on 8.5x11” or enlarged to fit 12x12 paper for larger size. I enlarged the main base to fit 12x12 and estimated size of the handle and spout with adjustments to close in the pieces.

1. Using the templates trace and cut the pieces to your watering can.


Fold your watering can, spout and handle pieces.


TIP: to make the curvature on the upper lid edge of watering can I using the flower shaping kit to bevel the outer edge instead of adding the extra strip of paper. It worked perfectly especially with the high quality of Heartfelt Creations paper.


2. Using the Ornate  Borders & Pockets die cut in coordinating paper and apply to the upper lid section fitting into the rounded concave grove. If your making the smaller size watering can you’ll have decorate this section to fit the size your working on.


3.Using the Spellbinders Label 46 smallest die cut 2 of them to fit on the front and back panels under where you placing the sprout and handle section… for added décor.
4. The upper lid section on the outer sides need to be bend and glued into the outer edges.
5. Form your spout and handle ready to apply to the front and back panels. On the handle section I used a large stapler to add extra strength to it. Otherwise just glue it firmly. The spout was glued only.


6. Using the Border Essentials die I cut 4 of them and glued and cut them to fit the 4 bottom sides.


7. On top of this border I glued some thinner lace all the way around.


8. Next using the Wildwood Floral Dies I cut and layers some flower and added some accents to the centres. I also took print flowers off the Sun Kissed paper Collection and fussy cut both small and larger flowers to add to the shaped floral cluster  for the main section of the watering can.
I die cut both the bird and the butterfly from the Garden Romance die collection. I cut 2 of each so I could pop them up giving 3D look for dimension.


9. Now taking all the flowers, 3D accents and adding some beaded accents I started gluing on and clustering the main section.


10.  I die cut a few more flowers and also a leafy piece to accent the side of the spout.
11. I now went back into my stash to find a few more beads, stones, hearts etc to decorate the upper lid, the spout and a few more accents added to the main floral cluster.


12. Last but not least was the cute small clustered ribbons and bead accents is added to the back handle. Tie them off and glue the beads and your done.


 Thanks for joining me today. Sure hope I inspired you to try making a watering can of your own.... If you do share your link in the comments to I can view your creations too.