Wednesday, May 3, 2017

Cards trimmed with Creative Embellishments Chipboards


At Creative Embellishments today I am sharing some cards. Whether it's the small sentiment words or logo that suit the theme there are so many chipboard options when creating.
I am also using Sun Drenched paper collection from my DT Paper House on these cards.

Supply List:
Creative Embellishments Products:
Other: Paper House Sun Drenched paper pad, Paper House Sticky Pix Clear Cuts, Paper House 3D stickers, cardstock, brads, stamp, ink,  micron black pen. ScraPerfect Best Glue Ever. burlap


Lots of black matting with cardstock on this card makes for great layers and depth. Sentiment is stamped and matted and burlap background. Great clear cut accent and the amazing nautical piece accent.


Up next is an eash style beachy card. Great mix of papers and stickers and finished off with the perfect size small sentiment words chippies. 


It all starts with the easel fold base and the front panel that we are decorating.


Lots of cardstock layers and shaped accents along with the small words "Best Wishes" left in natural colouring.


Here is the side view with easel card shaped card. It allows you to decorate the inside panel that shows when it's standing up.


The last fun sunshine and bold coloured card is used to celebrate a Florida friends Birthday.


It starts with fun colours matted in the base and a matted palm tree image. 


Add stamp sentiment, some stickers and finished with a 3D sticker backed with another Nautical chippie.


Here is the close up view to see the fun layers. So when creating it's not how big or how many you use. ... it's what fits the theme and project as a complete project. So get out those chippies and use them more often.


Thanks for stopping by today.... hope to see you again soon,


Tuesday, May 2, 2017

Memories using Creative Embellishments


Today at Creative Embellishments I am sharing a special page. "Memories" shares one of my favourite photos of Nana and it puts a smile on my face when I view it. You are missed everyday sweet lady of ours. This page shares all things loving and beautiful much like you.... hugs always.

Supply List: 
Stamp: Burlap
Best Glue Ever, Best Cleaner Ever, Embellie Gellie, the Perfect Crafting Pouch, No Clog Writing Tip 
Paper: C88 Floral Dreams Collection
Flowers, Ribbon, Doily
Ink: Tim Holtz mini pads


I start my page by inking the edges of the background papers and layering them.
Also I estimate the placement so when I take the photo and papers off I can add background to the spots that will be visible.


Lots of fun inking and colour in the background.


Now I roughly lay the layers back into place and start gluing the back pieces down only.


With this decided I now choose colours to colour the chipboards with to match everything else.


Now using the Best Glue Ever and Embellie Gellie I glued things down. You only have to use so little of this fabulous glue. It also has fabulous fine unclogging tips for the thing titles and thin chipboard accents. The Embellie Gellie was used to apply the very tiny gel dots. A bit of gellie on the end of the supplied stick helps hold the dots while applying the Best Glue Ever.


In the close ups you get  a better view of some of the details. Notice behind the photo I added a doily with inked edges. I also added sparkle to the butterfly.  There is a tattered rip in the upper edge of the paper and  the same gel dots are added.


This accent is inked ad sparkled with stickles.


Another accent is a small cluster of flowers with a flourish chipboard accent. And notice the border of pleated lace.


There is inked stamping using Creative Embellishment Burlap stamp.
When your all done and if there is even the slightest bit of glue that leaked out onto page.. the Perfect Crafting Pouch can be used to wipe it and take the stickiness away. Then if your fingers are sticky there is the Best Cleaner Ever. 

Thanks for joining me today. I enjoyed sharing this great memories page of Nana and was glad to share the amazing products available to use when creating.


Be sure to visit the store to view these and all the other amazing products.


Monday, May 1, 2017

Special Moments May 1st Creative Embellishments Challenge & using some products from The Rubber Buggy


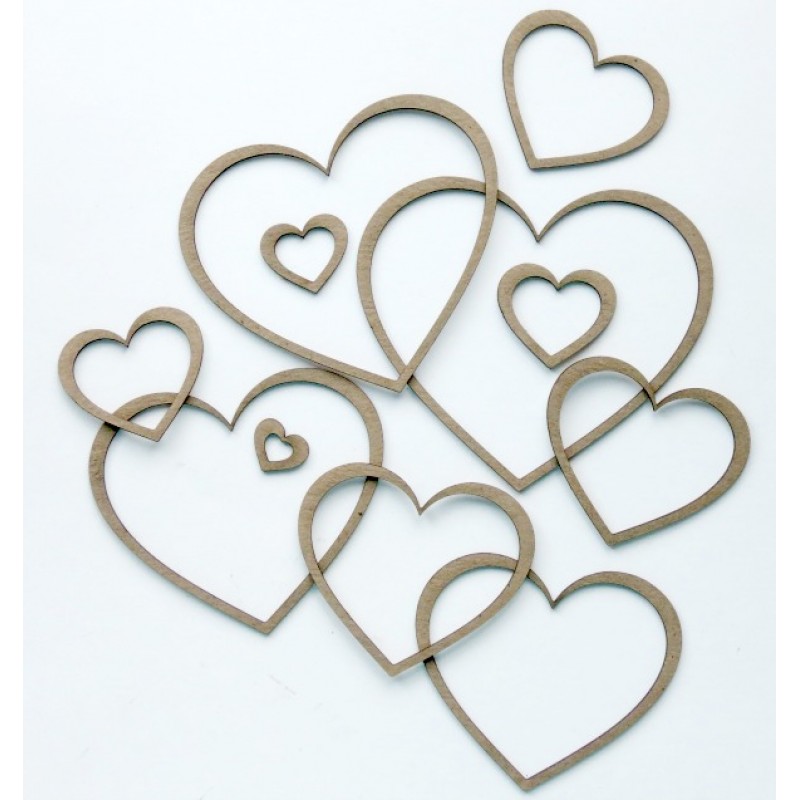
HI.... At Creative Embellishments today I am using some of the colours from the challenge mood board (below), the heart shapes and the twist part to use a stamp (love) and scribble heart stenciled using modeling paste to texture them. I added butterfly flair buttons and lots of amazing chipboards: Moments Word Setsingle heartheart borderwashi tape shape clusters, and scribble hearts accent. The papers are from my DT with The Rubber Buggy: PhotoPlay Bloom Collection, Blue Fern Soft Blossoms and some lace. The background is done with a plastic bag over my hand dabbing different colours of paint. 


I like to start with a rough layout plan... take a photo of it and then I can move things around to do more or less in the background. In this one I used paint and modeling paste stenciling along with some stamping too.


Working my way forwards adding some paper and setting aside some fabulous Creative Embellishments chippies.


This photo shows the fun Love stamp from Creative Embellishments products and look at the amazing print paper from this collection..


Stenciling some hearts is a perfect match to the papers and theme of this page with all the other amazing heart accents.


OMG look at all the heart accents... and love the added flowers and the cute flair butterfly button.


The next batch of photos give some close ups and views to showcase the chipboard accents and many other fabulous fun accents.


Be sure to visit the stores where you can view these and so many other product to suit all your projects.


Thanks for stopping by..... be sure to come again when I have more to share with you.

May 1st Feeling Sketchy challenge


 At Feeling Sketchy we love sharing card sketches with you. We share our reveal cards to hopefully inspire you to play along with us.
My card below was created using the sketch. For this card I fussy cut the dress on a hanger from the papers and placed them on top of background dress image so I could 3D it by using foam dots to pop it up. It adds great dimension.  I have been using my Heartfelt Creations collections. On this one I also used one of the stamp sentiments and then added stickles for sparkle. I sdded some pearls in the corner, tied a ribbon bow and add a pearl frame.


Thanks for stopping by.. .be sure to visit the blog and play along with us. We can't wait to see what you'll share with us.